


The inspiration for today's project came from two unrelated sources that gelled so seamlessly. Gosh, I love it when that happens. There are oodles of paper bag craft ideas, but this particular idea that I found on a scrapbooking site caught my attention. It combines paper art with sewing… two of my favorite artistic outlets.
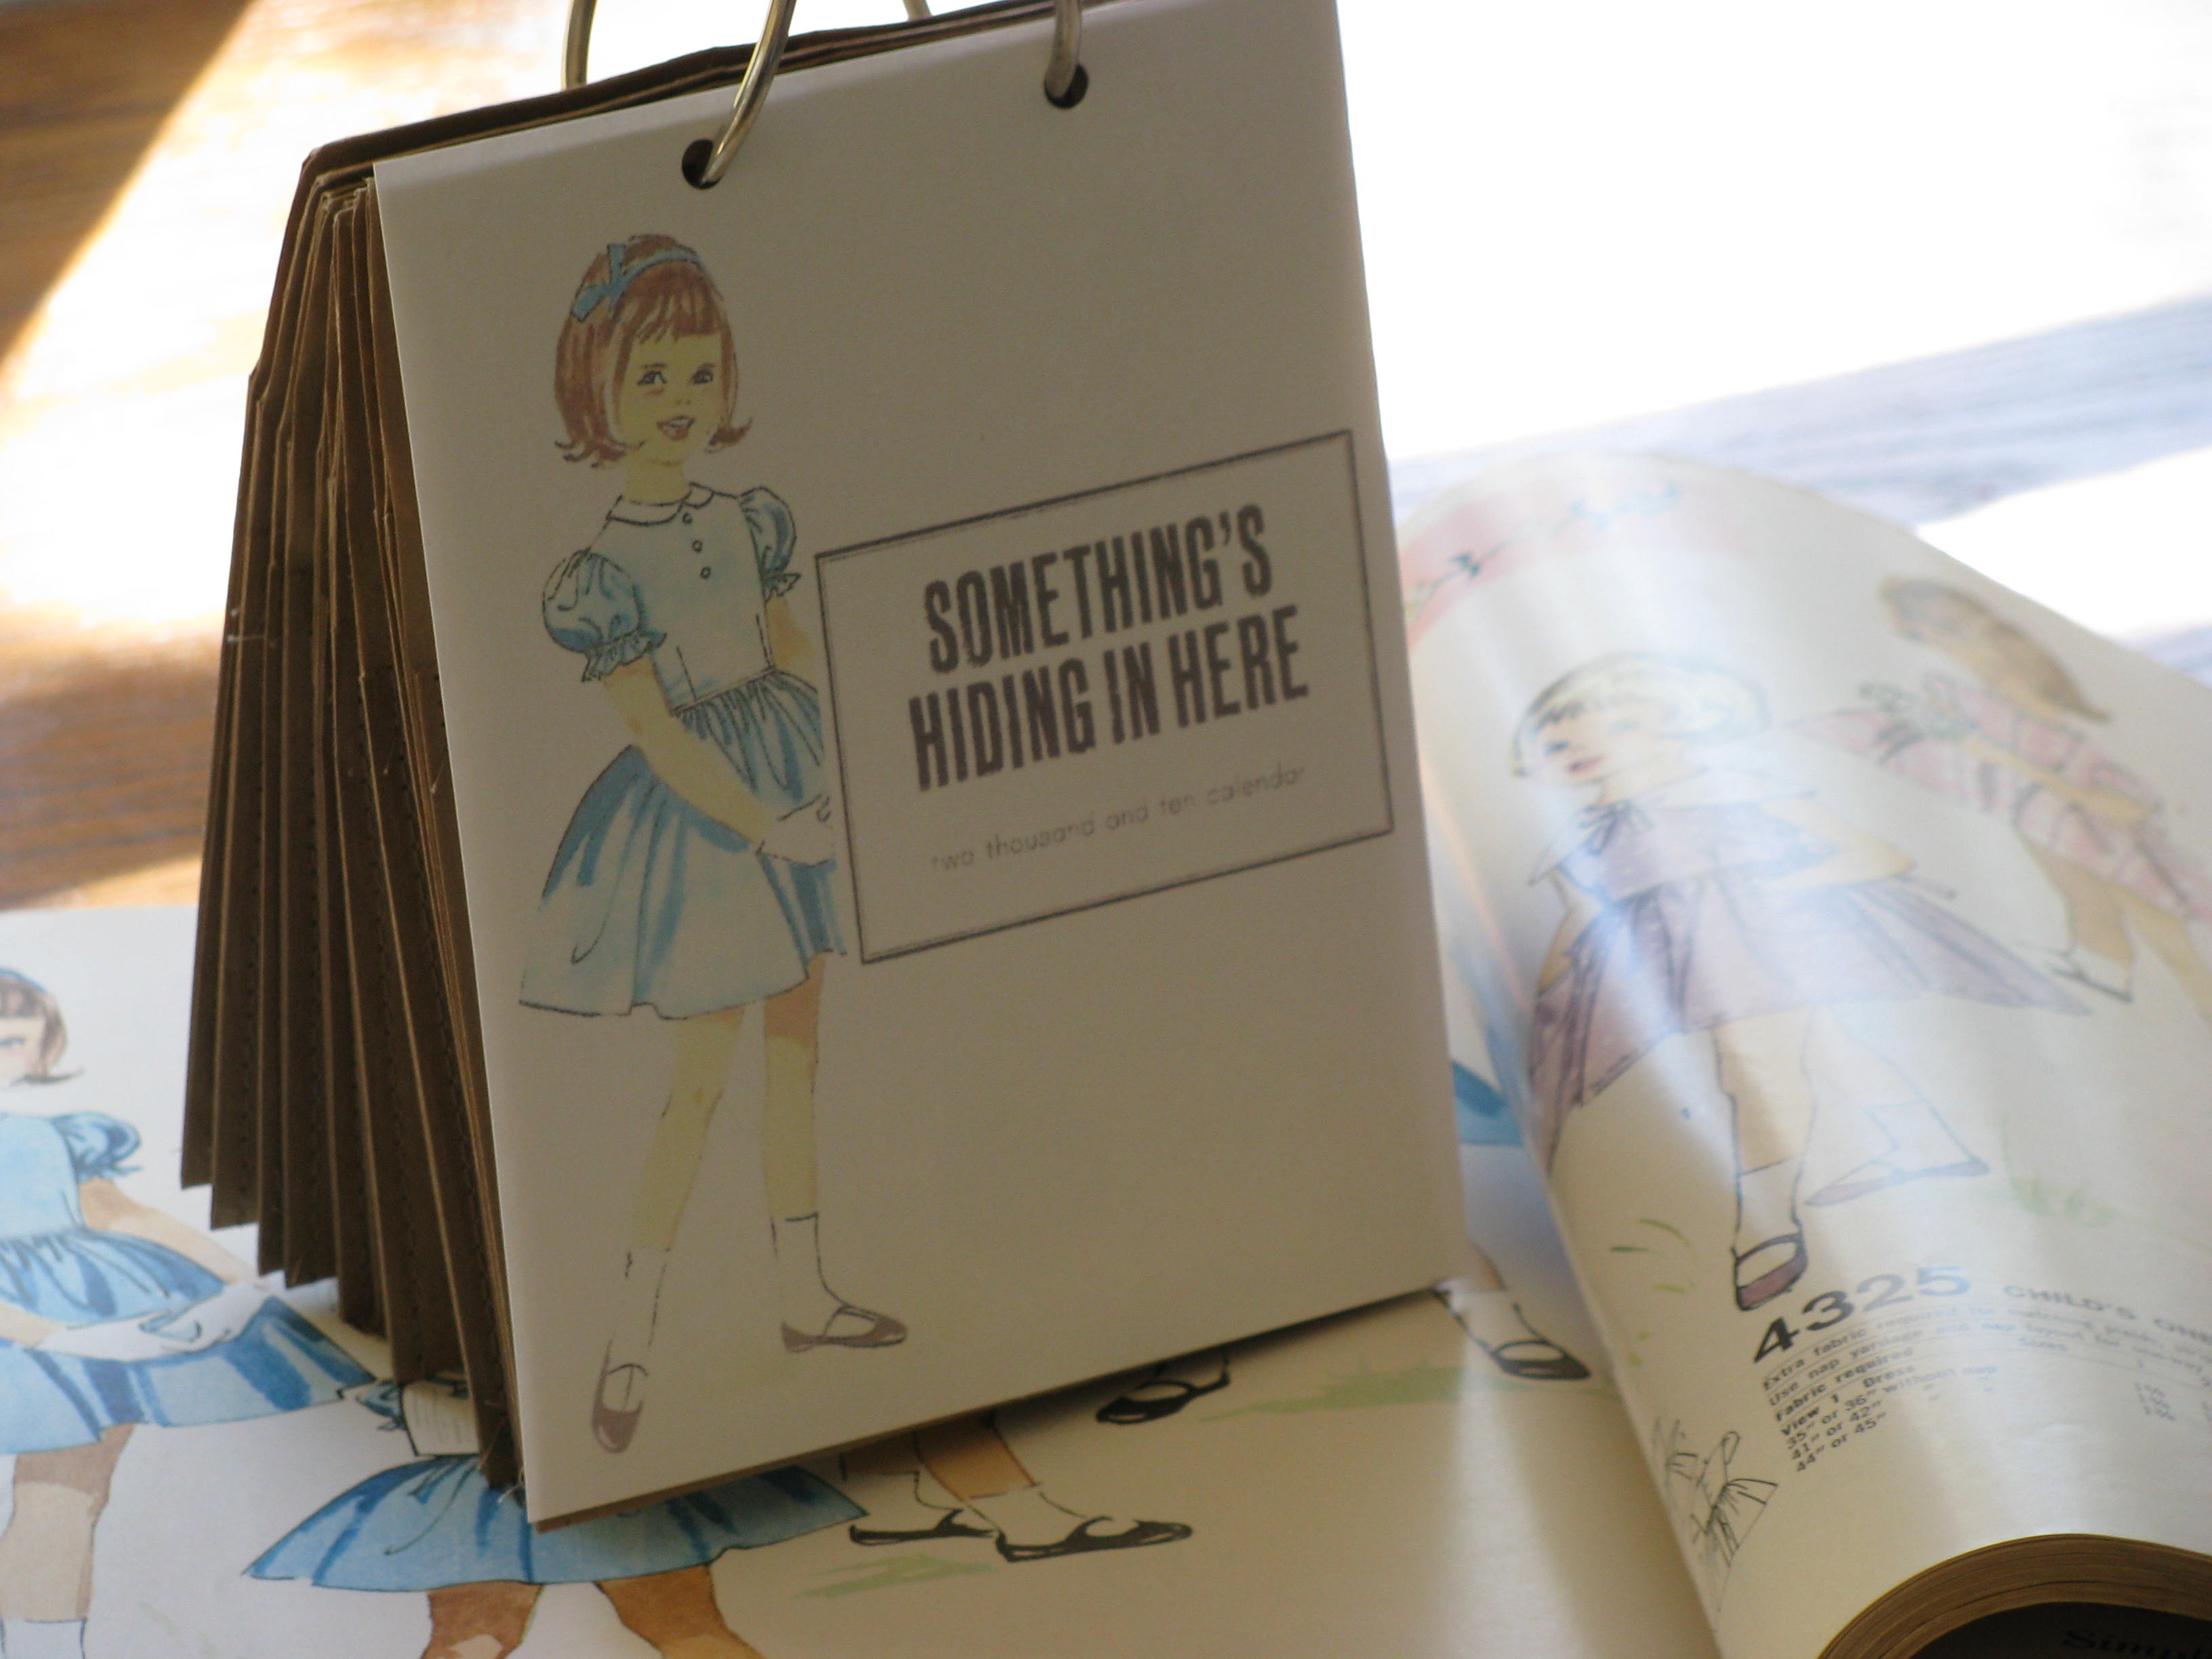
The 2010 calendar pages were created by an artist named Shauna, who is a friend of my daughters from their art high school days. Shauna (and possibly her husband since they work as a duo ) "designed the pages with a vintage proofing press using wood and lead type." She/they graciously provided a pdf, on their "something's hiding in here" business blog, to print each of the twelve months and their company label, which I cut out and used in combination with a drawing from an April 1962 pattern counter book to make my cover.

This is how you do it. Make two holes along the bottom edge of a lunch bag with a hole punch to insert two metal rings into, fold up the bag to make a pocket, machine stitch along each side of the pocket using a long basting stitch, then glue the calendar and month's name onto each page. I made a pocket calendar for my each of my two oldest granddaughters. I "hid" a little something for them in each month's pocket… stories, activities, riddles, etc. from a 1939 book titled 365 Busy Days Something to Do for Every Day of the Year. They can also tuck their own little treasures into the pockets.
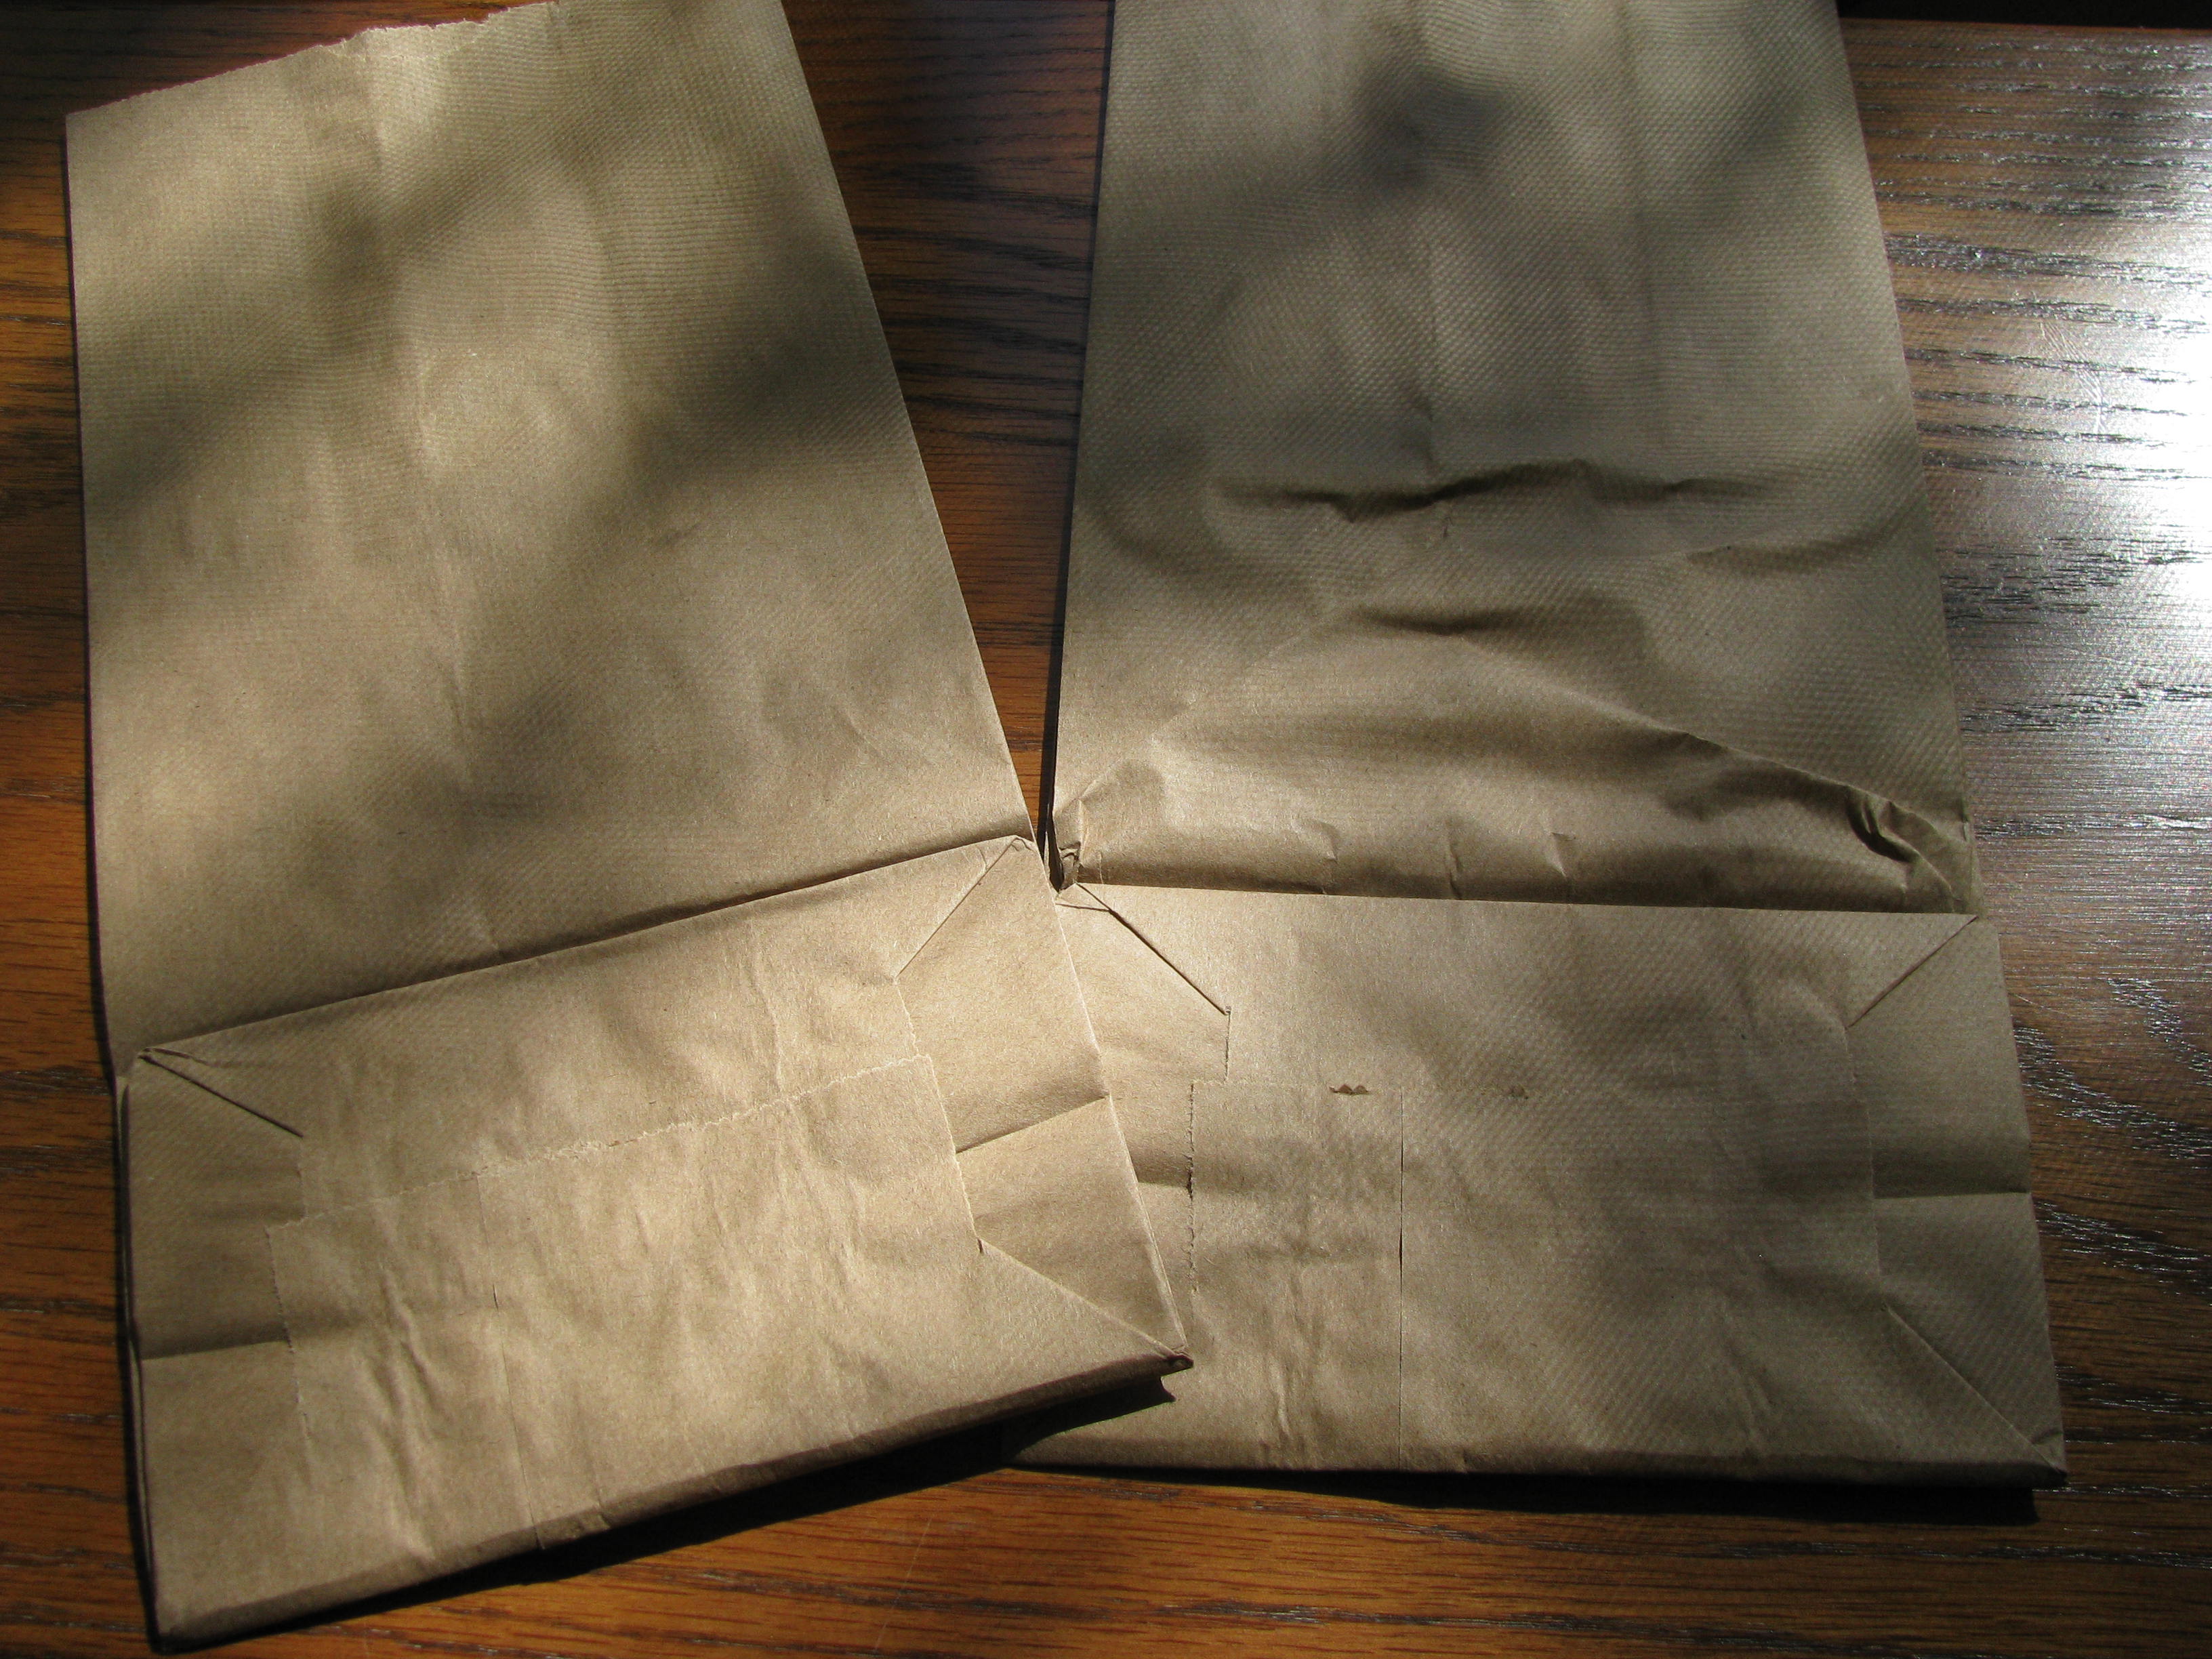
I timed myself. For each bag, it took two minutes to punch the two holes, fold it up to make a pocket, and stitch the sides… IF you sort through the bags before you start and discard (as in use them for brown bag lunches, not craft projects) the ones that are bunched up like the example on the right. If you use the bunched bags, they will just make you mad. In 30 minutes, you will have the bags ready so that you can glue on the calendars.

Leave a comment