Whiteley Creek Homestead

LIFE AT THE END OF A DIRT ROAD IN CENTRAL MINNESOTA

organically grown triticale in our field
canoeing in our wetlands
raspberries growing wild on our property
our back porch fieldstone fireplace
  • A while back I gave each of my daughters a copy of one of my favorite cookbooks titled Smart Muffins by Jane Kinderlehrer. I have made many of the recipes in the book, but Heather recommended one that I hadn't tried yet. Oh, are they good! They are so very light with a hint of spice and packed with nutrition thanks to the mashed pinto beans… yes, beans in muffins. You'd never know it unless I told you… which I did, so now you know. Besides the peaches and prunes, there is no additional sweetener except a miniscule 2 tablespoons honey or molasses.

    Peachy beany muffin ingredients 
    You can use either buttermilk or yogurt. I used some of my homemade yogurt.

    Peachy beany muffin mixing 
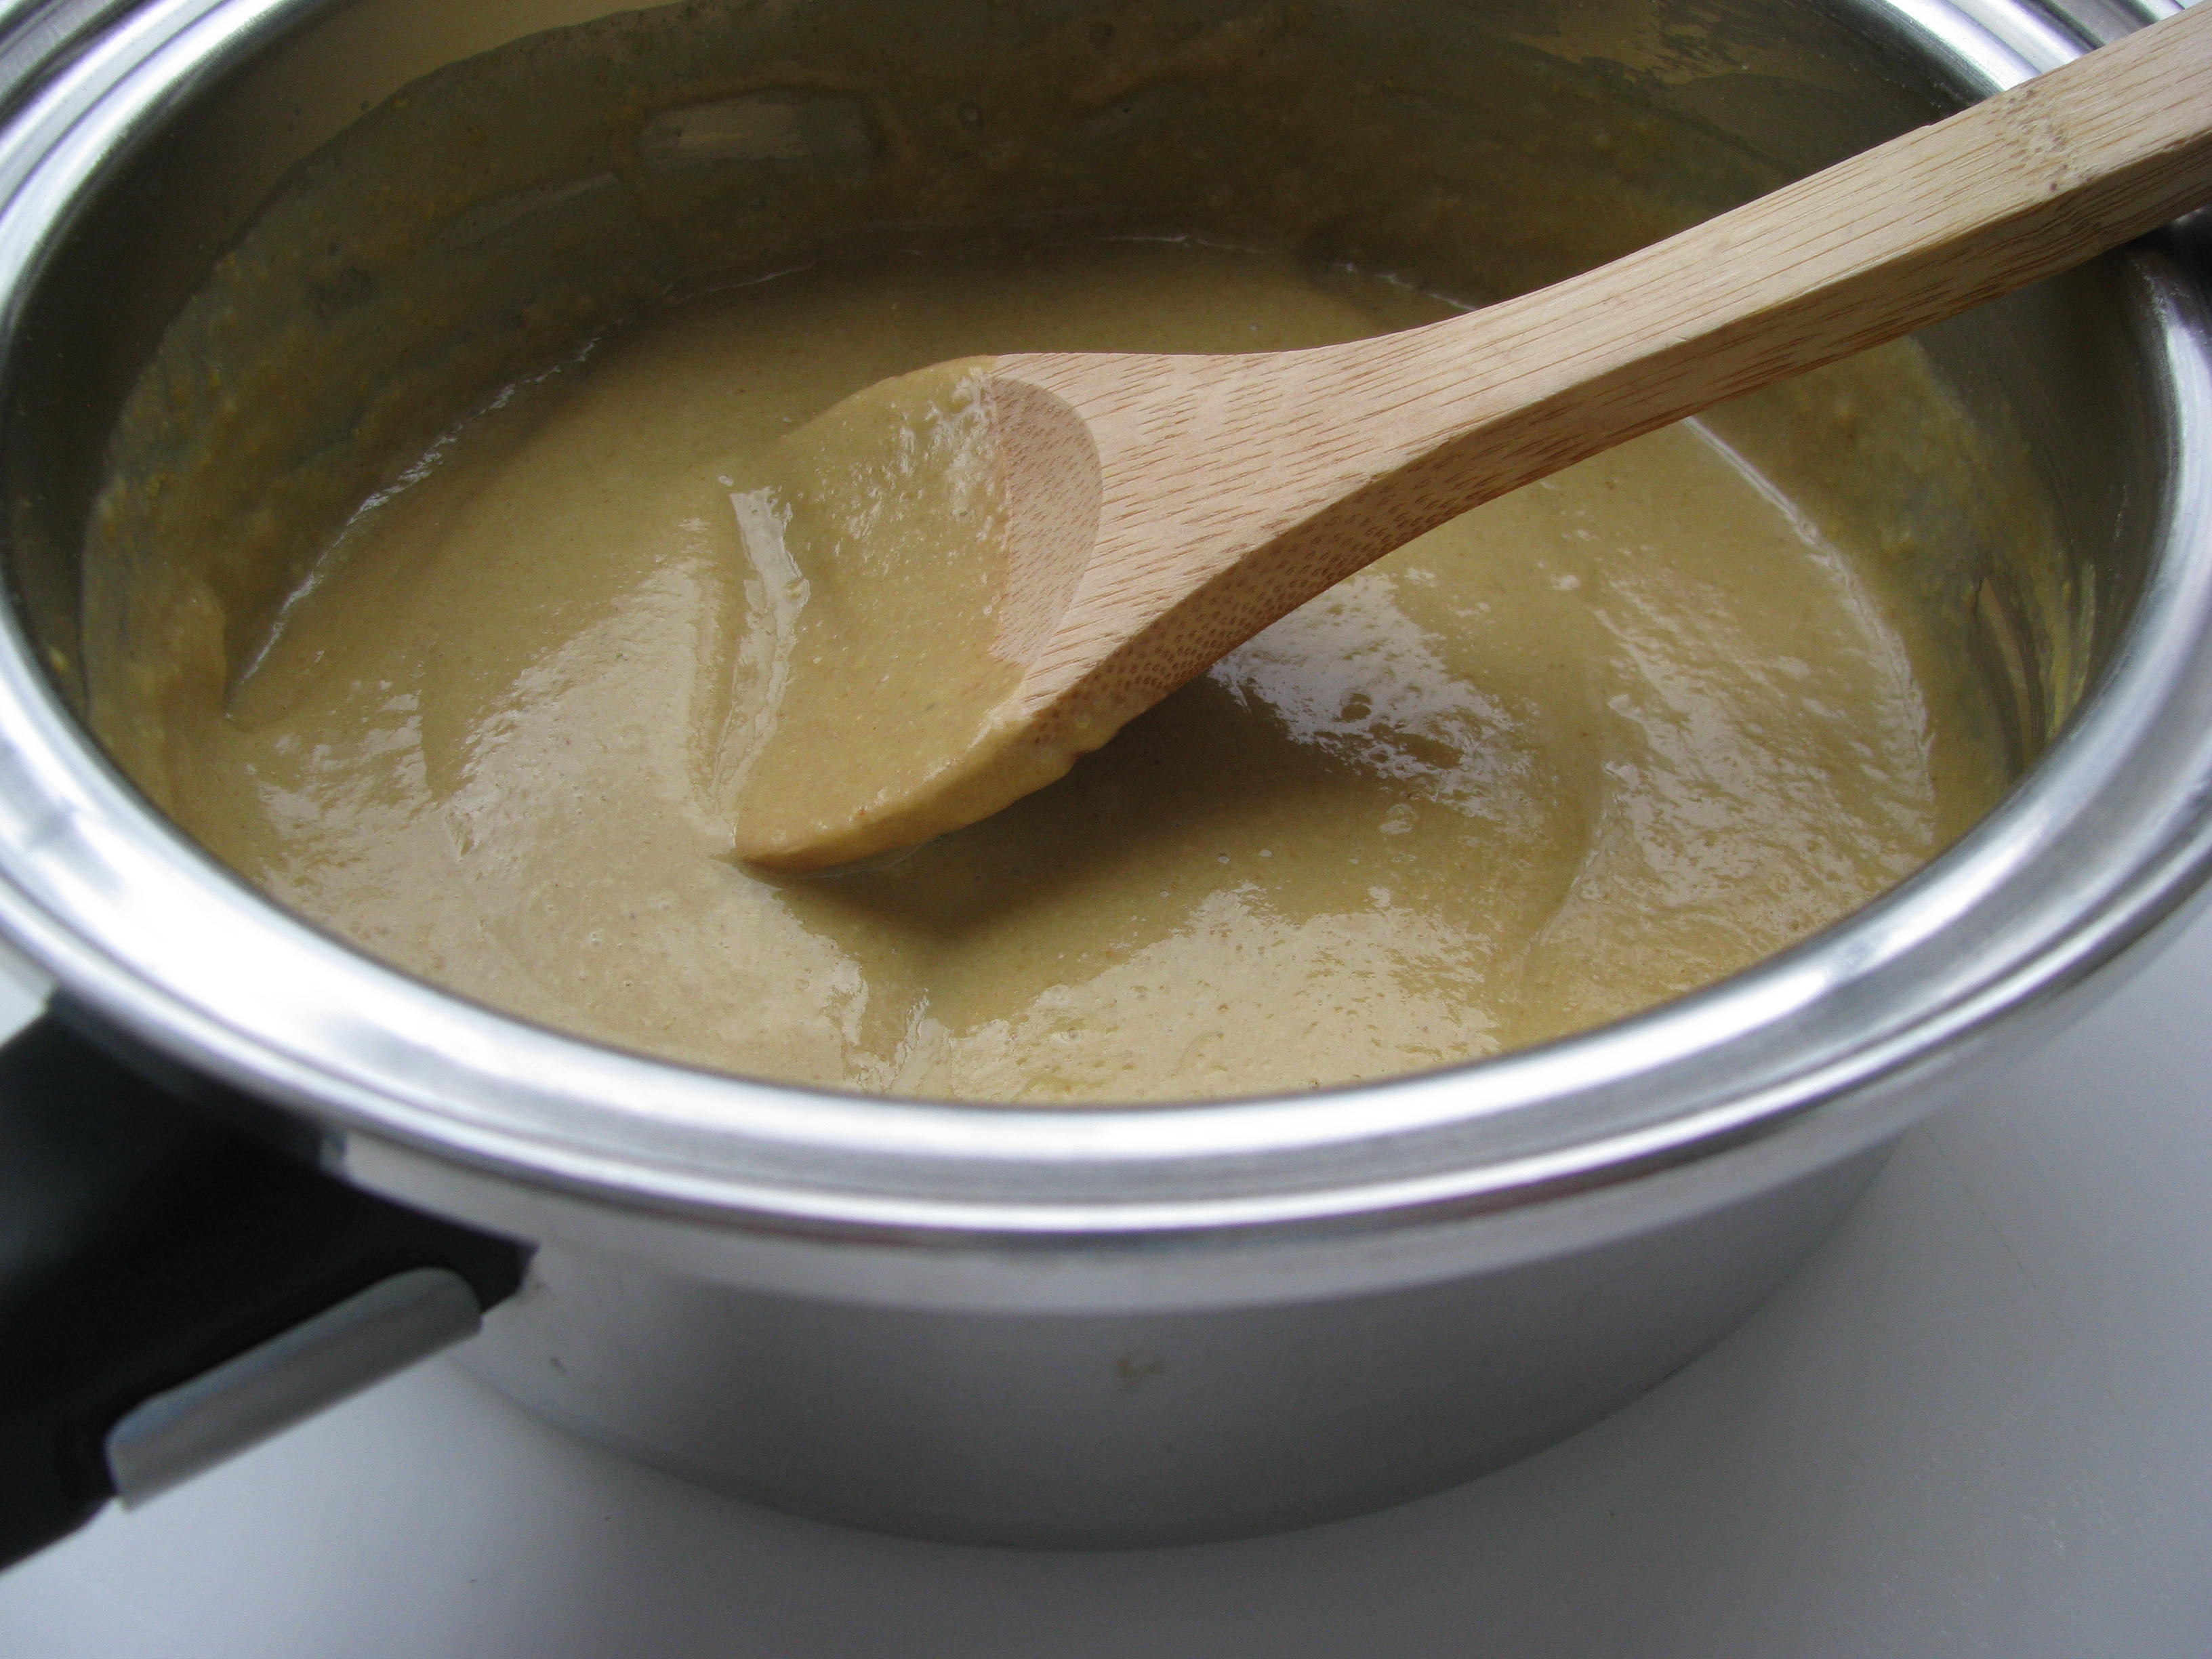
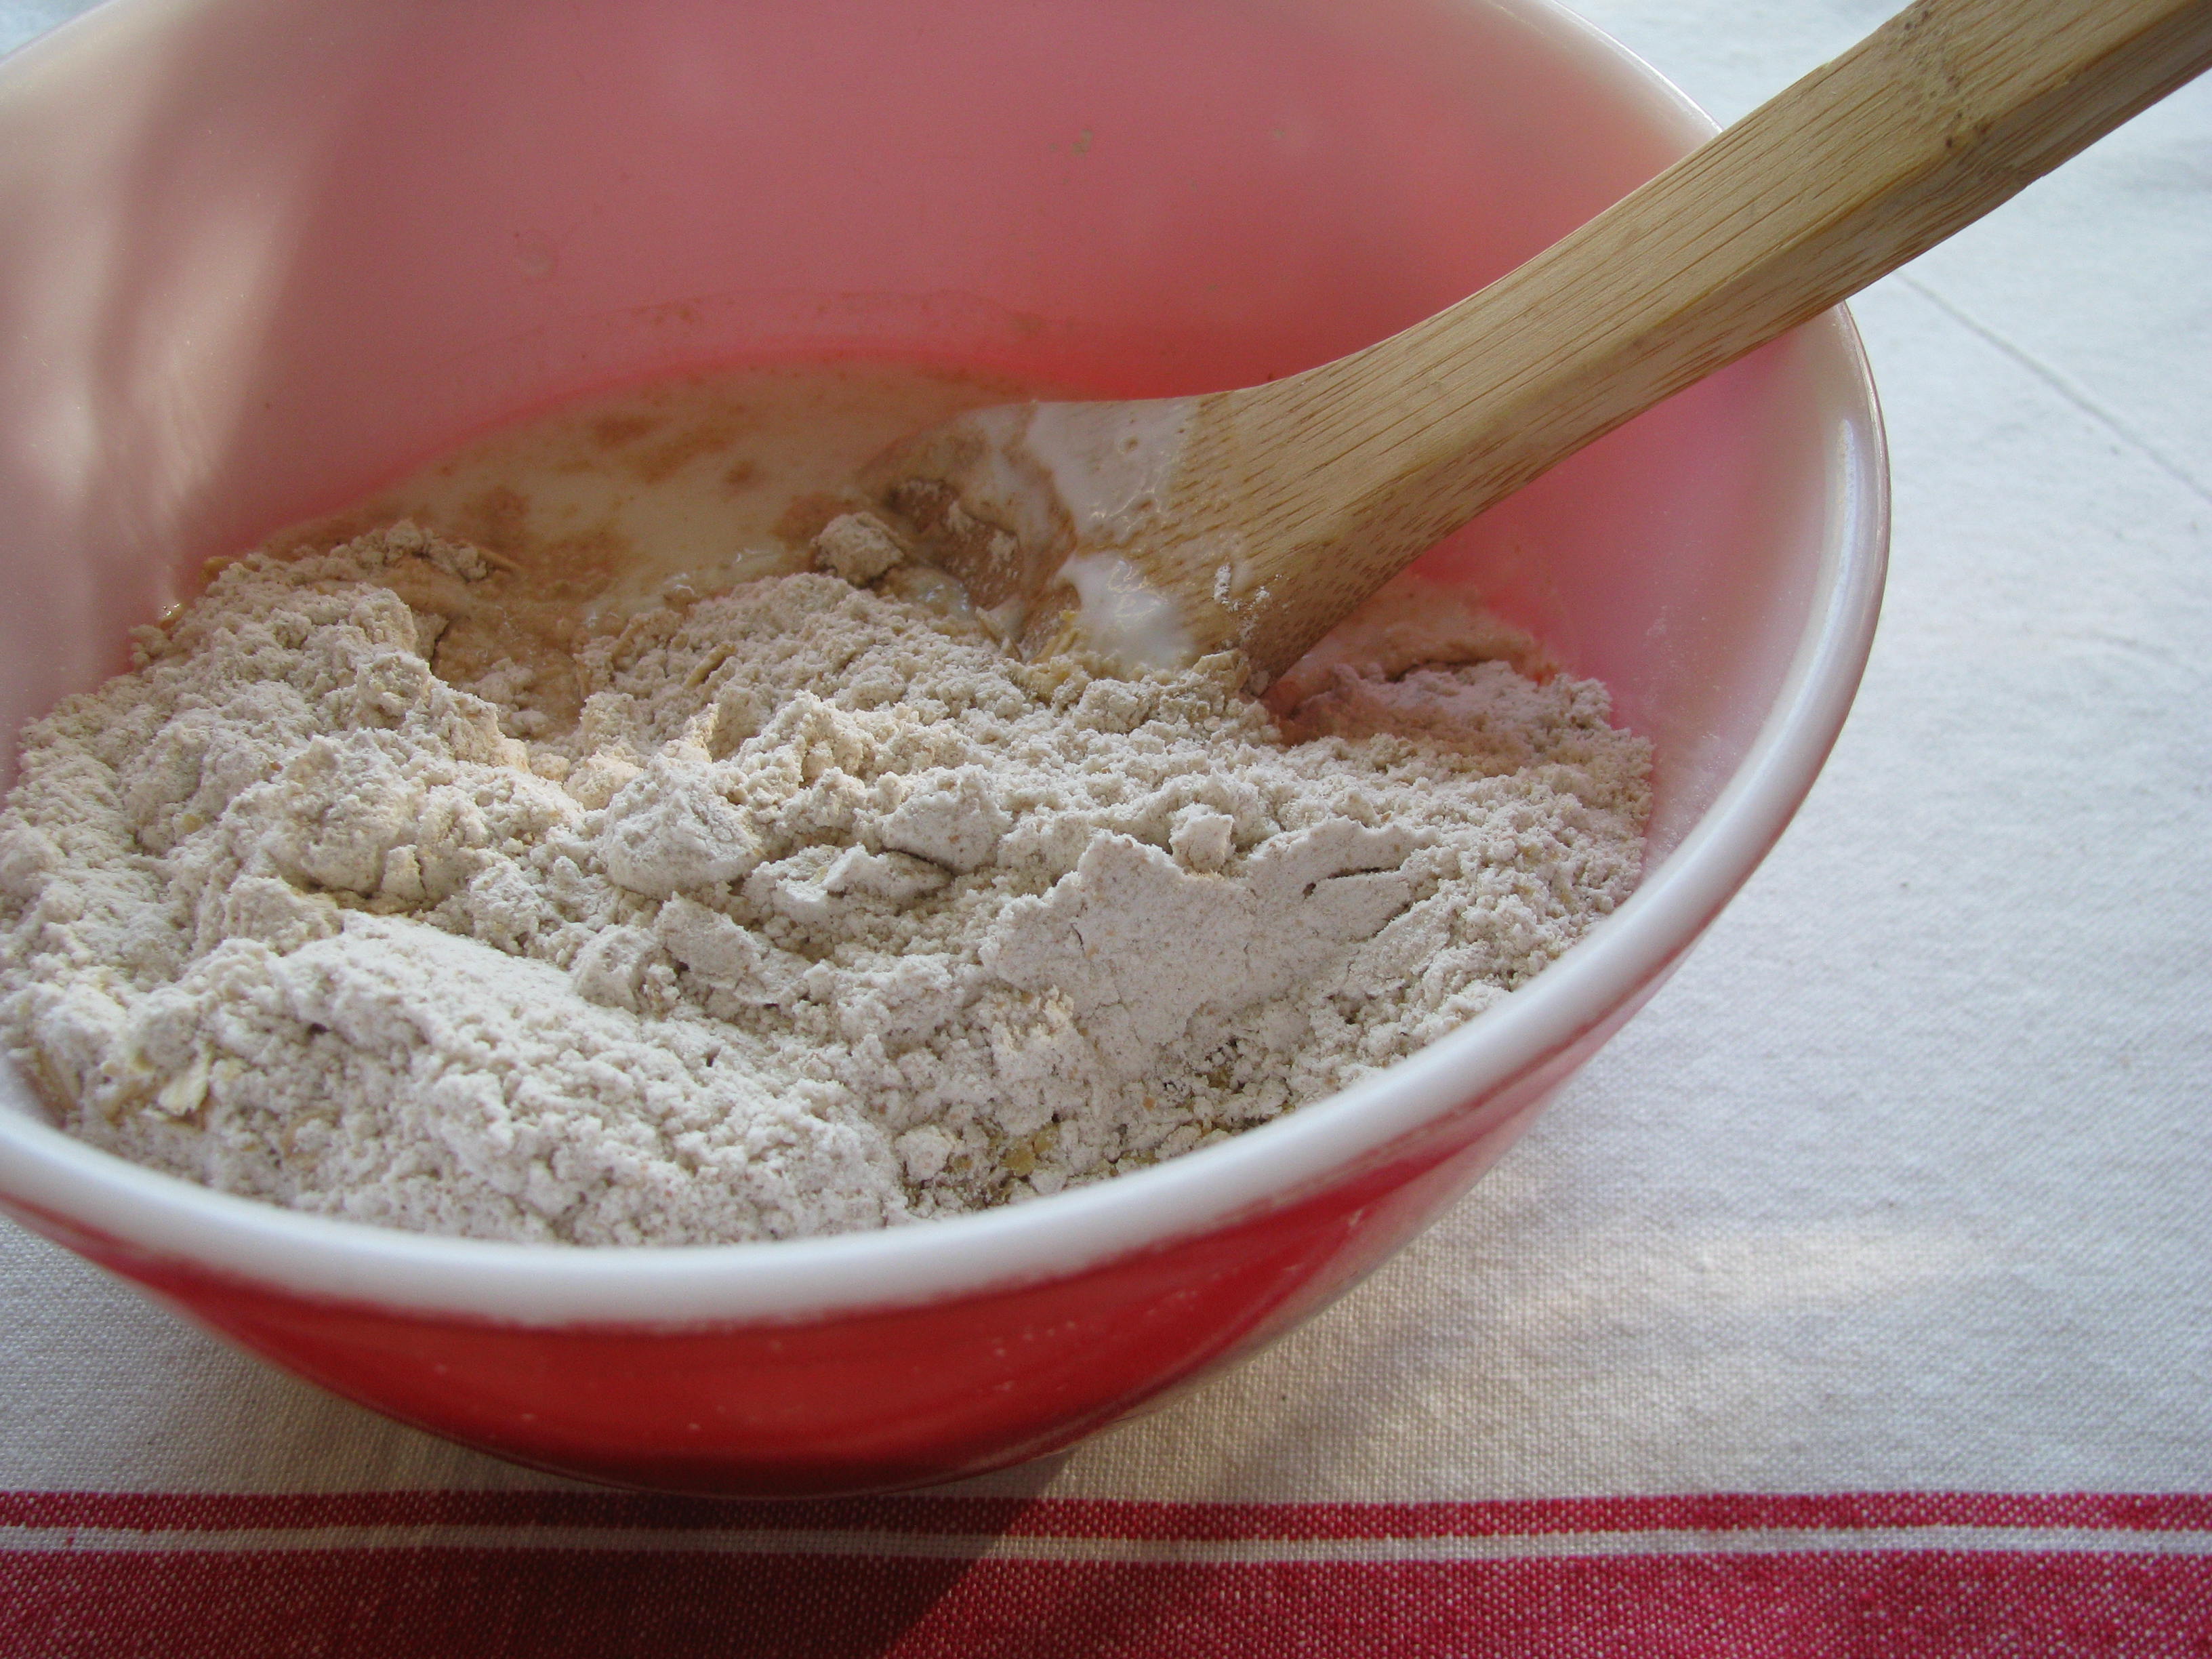
    I like to use a whisk to first mix the dry ingredients, then I whisk the wet ingredients. Next, I switch to a wooden spoon to mix the dry with the wet.

    Peachy beany muffins

    Peachy Beany Muffins

    1 cup cooked pinto beans

    2 tbsp olive oil (I use *red palm oil.)

    2 tbsp honey or molasses (Blackstrap molasses are an excellent source of calcium).

    1 egg

    1 tsp vanilla

    2 tbsp yogurt or buttermilk

    1 cup diced peaches (1 large) If using frozen, then dice, measure, spread out on a plate, and set in a sunny window while measuring the remaining ingredients. It’ll be unthawed by the time you are ready for it.

    ½ cup diced prunes (I subbed one 2.5 oz pureed baby food prunes for diced prunes on a whim one morning to trim time. The end product was extremely tender and moist. It has become a permanent substitution.)

    ¼ cup chopped nuts

    ½ cup flour of your choice

    2 tbsp wheat germ (I have subbed ground flax seed, hemp seed, or mesquite flour.)

    1 tsp baking powder

    1 tsp baking soda

    ½ tsp cinnamon

    ¼ tsp nutmeg

    ¼ tsp ground cloves

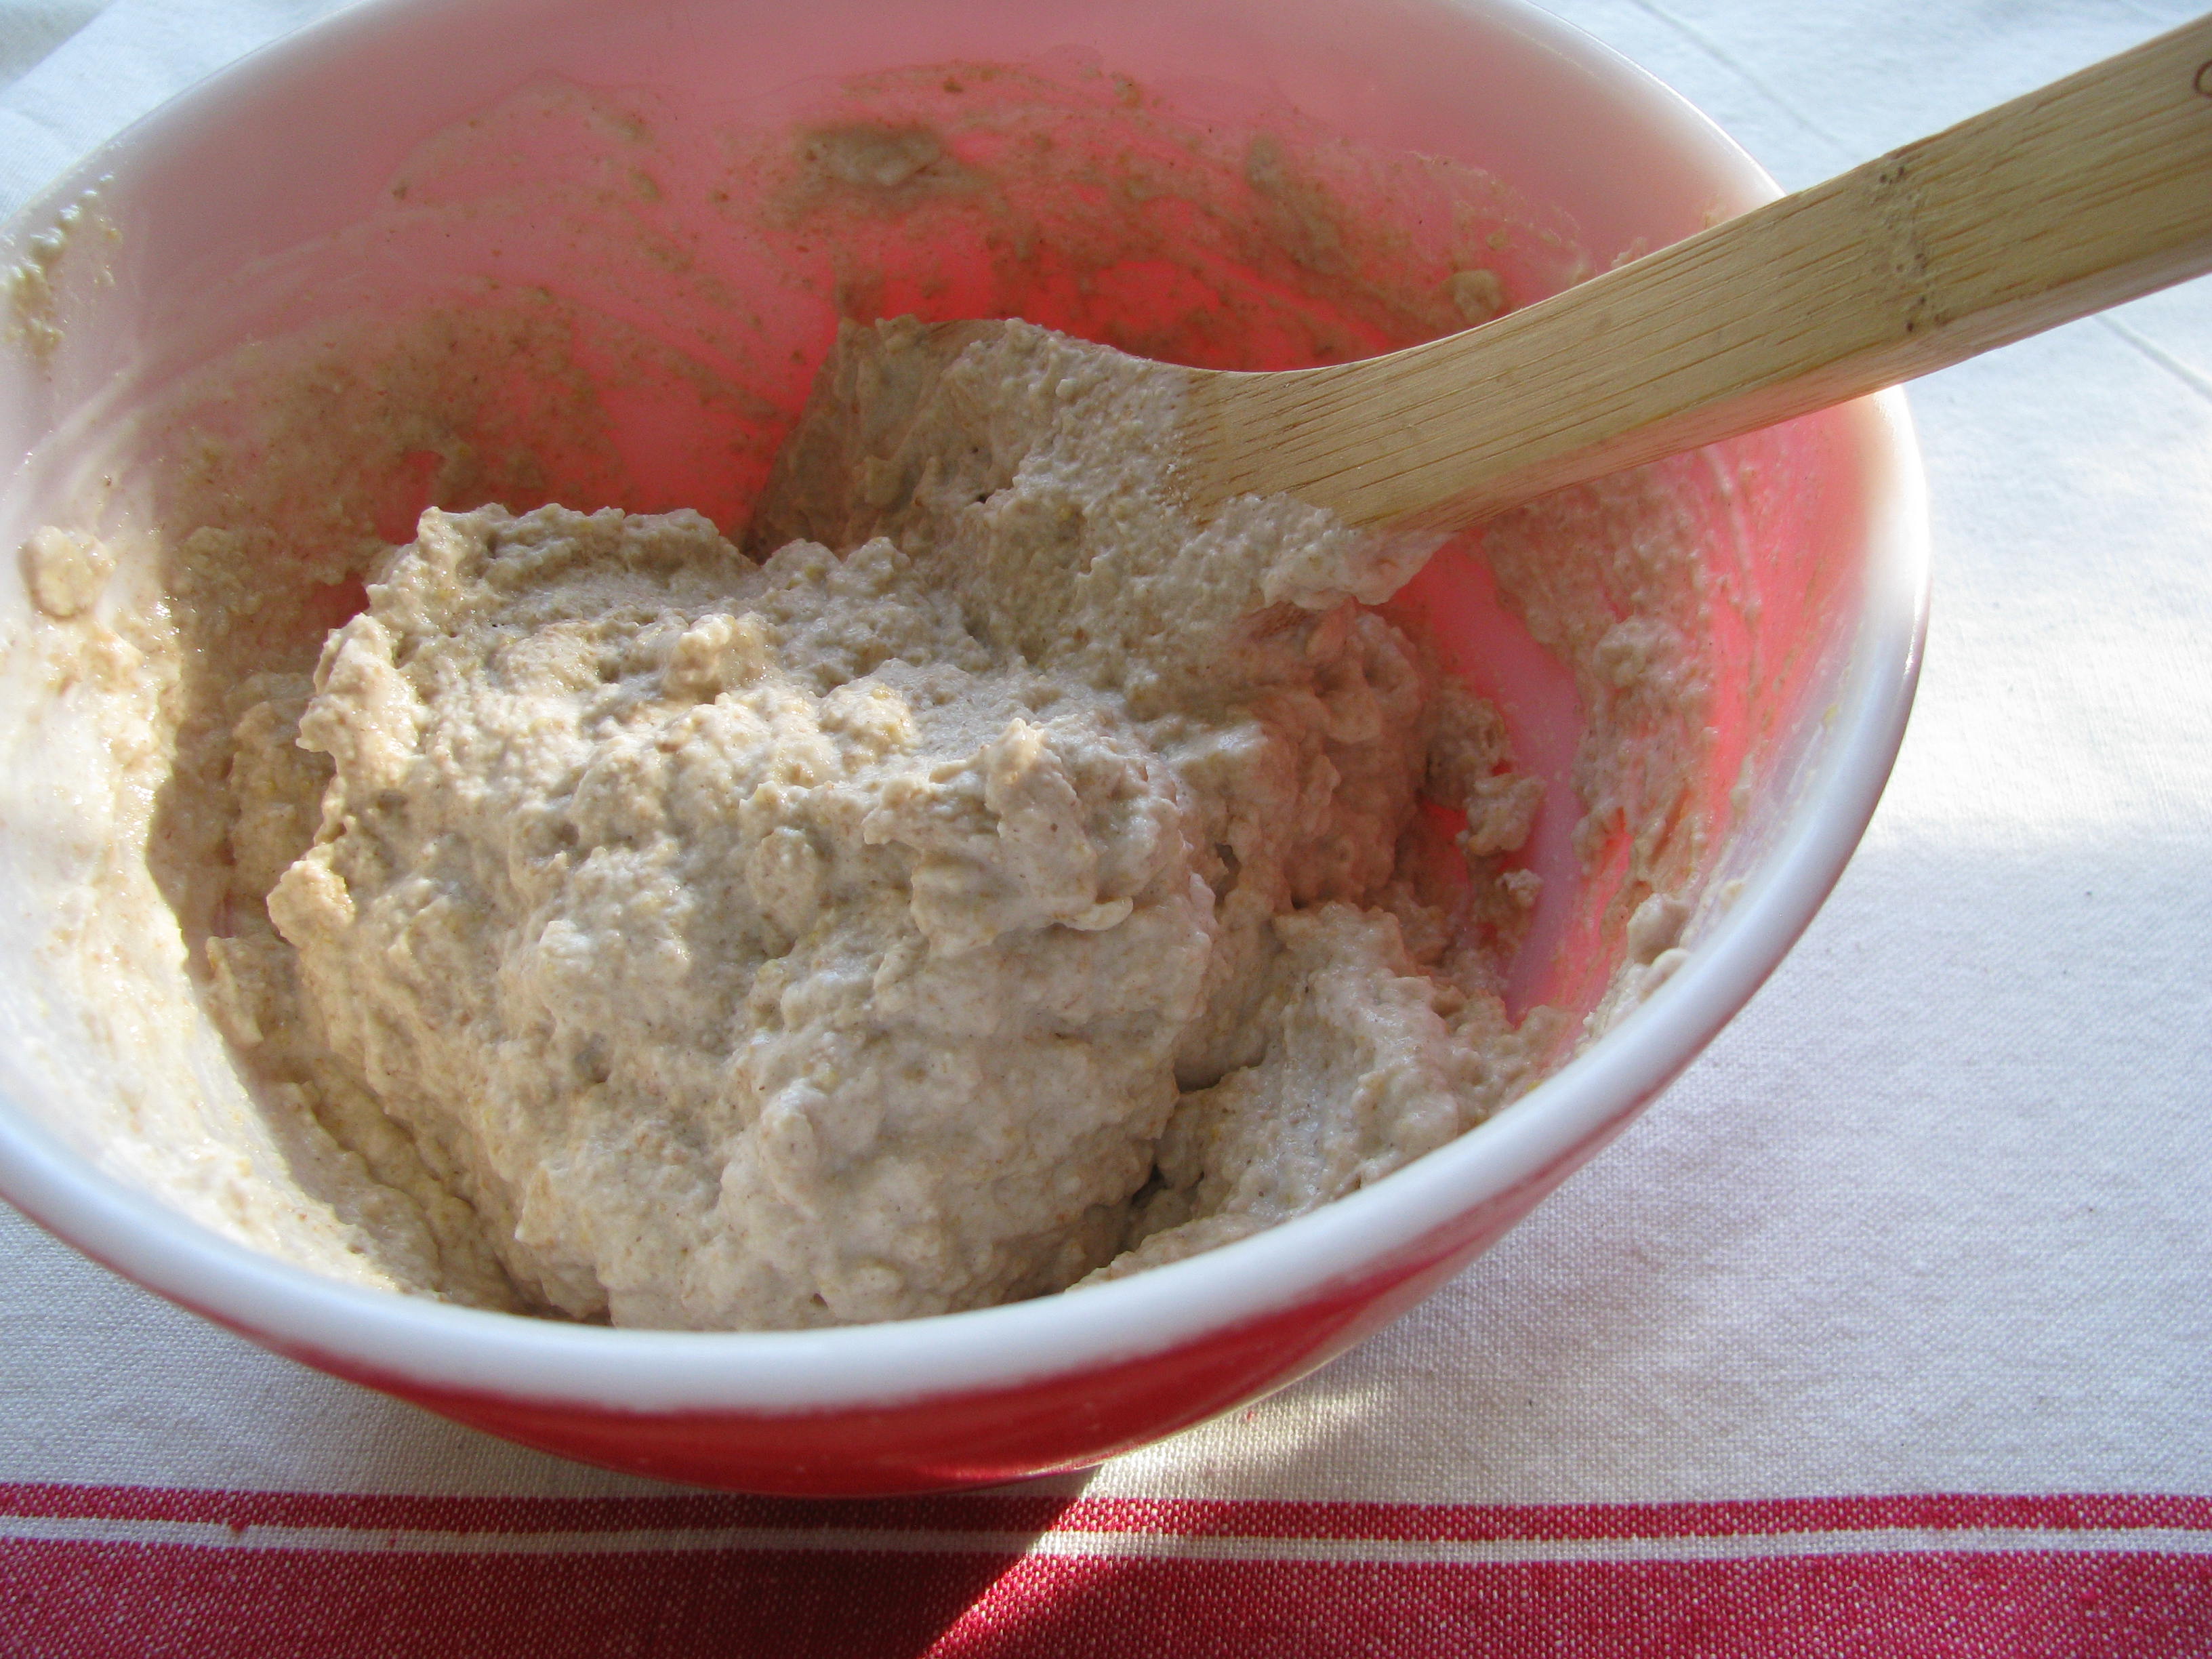
    Using a food processor, puree the beans with the oil, honey or molasses, egg, and vanilla. Scrape into a bowl and add the yogurt or buttermilk, peaches, prunes, and nuts. In another bowl, whisk together the flour, wheat germ, baking powder, baking soda, and spices. Preheat the oven to 375°. Stir dry ingredients into wet ingredients just until mixed. Don’t overmix. Spoon the mixture into 9-12 regular muffin cups. (I've found that filling 9 cups is the right amount of batter to produce slightly rounded tops post-baking.) To prevent deflation, just plop the batter and don't spread. Bake for 20 to 25 minutes or until a toothpick comes out clean. *Some processed foods are made with palm kernel oil which is extracted from the seed. "Palm oil" is made from the fruit. See http://www.eatingwell.com/nutrition_health/nutrition_news_information/palm_oil_vs_palm_kernel_oil for a comparison of the two oils and palm oil's benefits.


  • I went on a little jaunt this afternoon to a farm just two miles down the road.

    Farm signs 

    I thought maybe a few plump perfectly ripe strawberries would be nice… 

    Strawberries at farm 2-26-10

    and, oh… the leaf lettuce was so very pretty.

    Leaf lettuce at farm 2-26-10 
     
    A dozen freshly laid eggs and some ripe and not-so-ripe tomatoes would be good… and the homemade citrus marmalade that glittered in the sunlight looked too yummy to resist.

    Farm bounty 2-26-10

    The not-so-ripe tomatoes will go into a green tomato pie using my mom's recipe that she has made ever since I was a kid. Yes, it will most definitely show up on these pages.
      

  • The inspiration for today's project came from two unrelated sources that gelled so seamlessly. Gosh, I love it when that happens. There are oodles of paper bag craft ideas, but this particular idea that I found on a scrapbooking site caught my attention. It combines paper art with sewing… two of my favorite artistic outlets.    

    Pocket calendar cover 

    The 2010 calendar pages were created by an artist named Shauna, who is a friend of my daughters from their art high school days. Shauna (and possibly her husband since they work as a duo ) "designed the pages with a vintage proofing press using wood and lead type." She/they graciously provided a pdf, on their "something's hiding in here" business blog, to print each of the twelve months and their company label, which I cut out and used in combination with a drawing from an April 1962 pattern counter book to make my cover.  

    Pocket calendar 
    This is how you do it. Make two holes along the bottom edge of a lunch bag with a hole punch to insert two metal rings into, fold up the bag to make a pocket, machine stitch along each side of the pocket using a long basting stitch, then glue the calendar and month's name onto each page. I made a pocket calendar for my each of my two oldest granddaughters. I "hid" a little something for them in each month's pocket… stories, activities, riddles, etc. from a 1939 book titled 365 Busy Days Something to Do for Every Day of the Year. They can also tuck their own little treasures into the pockets. 

    Lunch bag quality

    I timed myself. For each bag, it took two minutes to punch the two holes, fold it up to make a pocket, and stitch the sides… IF you sort through the bags before you start and discard (as in use them for brown bag lunches, not craft projects) the ones that are bunched up like the example on the right. If you use the bunched bags, they will just make you mad. In 30 minutes, you will have the bags ready so that you can glue on the calendars.

  • In yesterday's post, I shared a Cream of Something Soup recipe. If you made it… and I hope you liked it as much as I did and now you are wondering what else you might do with the  jar of nutritional yeast, why not make a quick tasty snack with it?

    Celery stuffed nutritional yeast sprinkled

    I stuffed a stalk of celery with farmer cheese, which tastes similar to cream cheese, then sprinkled raw sunnies and Red Star Nutritional Yeast Flakes atop. Yum. Just… yum. (Hint: Chop the celery into bite-size chunks and the strings won't get caught in your teeth.) 
      

  • Hotdishes/casseroles commonly have cream soups in the recipe (e.g., cream of mushroom, cream of chicken, cream of celery). You look in your pantry and there is none to be found, or your vegetarian/vegan diet doesn't fit the store-bought cream of something can of soup, or you like to be in charge of what goes into your food and not rely on what product manufacturers think should be in it. I have a tasty homemade alternative that I discovered on simplehealthytasty.blogspot.com plus a recipe to use it in. 

    Cream of something soup 

    Cream of Something Soup

    2 ½ cups milk 

    1 tbsp vegetable bouillon (I used McKay’s Vegan Chicken Seasoning that my friend Connie gave me… good choice.)

    3 rounded tablespoons whole wheat flour (or whole wheat pastry flour)

    ¼ cup nutritional yeast (A textbook in one of my Holistic Nutrition classes recommends Red Star Nutritional Yeast. It tastes like cheese… yum.)

    2 tbsp Bragg Liquid Aminos

    In a saucepan, mix 2 cups milk and the veggie bouillon (or vegan chicken seasoning). Bring to a boil, stirring occasionally. In a small bowl or cup, whisk together the remaining ½ cup milk with the flour. When the mixture in the pan comes to a boil, slowly add the flour mixture while stirring. It will thicken. Turn off the heat and add the rest of the ingredients.


    I substituted this Cream of Something Soup in place of cream of mushroom soup in a recipe that I clipped from our local newspaper. The weekly food column called Diane's Delights has been a mainstay in the Brainerd Daily Dispatch for 30 years or so… written by the same person all those years. The name of the recipe is called Amber's Chicken Bake, but I renamed it Chicken Tomato Gravy because, unlike Diane's original version, I served it over mashed potatoes… and I seriously tweaked it.


    Chicken gravy

    Chicken Tomato Gravy

    2 chicken breasts (Bone-in is more moist than boneless, but you can use either one.)

    1 can cream of mushroom soup (Substitute ½ recipe Cream of Something Soup.)

    ½ cup sour cream

    14.5 oz stewed or diced tomatoes (I like the kind that is seasoned with basil and oregano and sometimes garlic.)

    black olives, sliced (optional)

    mushrooms, sliced (optional)

    Bake the chicken at 350° for about 45 minutes or until done. Cube.  Sauté the mushrooms, if using. Combine all ingredients and heat. Serve over mashed potatoes. Serves 4.


  • My daughter Jessica gave me this popsicle mold a few years back. She got it from Williams-Sonoma, however I checked their site and it is not available there. The box states "developed exclusively for Williams-Sonoma © 2001." I did find one on Amazon that looks like mine except it makes 10 popsicles instead of 8. There is no photo of the box it's stored in, so I don't know if you'll get the adorable vintage-looking one that I have. I fell in love with the box's retro look even before discovering the perfectly functional mold inside. It looks like I have had it since the 1950s at least.

    Popsicle mold

    In my latest issue of Body and Soul Magazine (March 2010), contributing food editor Sarah Carey shared a recipe for Banana Berry Popsicles in a "Power Snacks" feature. The recipe called for four simple ingredients… all ones I had on hand, so I got busy. 

    Mixed berries frozen

    What a pretty color… I will make them again with one substitution. Instead of buttermilk, I will try plain yogurt for two reasons. There was an annoying crunch of ice crystals that would be eliminated, I think, if yogurt was used instead. The second reason for using yogurt is that I generally have homemade yogurt in my fridge or processing in my yogurt maker on the counter. 

    Banana berry popsicles 

    Banana Berry Popsicles

    Puree 1 ½ cups buttermilk (or try plain yogurt), 1 banana, 1 ½ cups fresh or one-10 oz bag frozen berries, and ¼ cup honey in a blender until smooth. Pour mixture into popsicle molds and freeze. To unmold, I found that holding your hand around a mold for a minute or so will coax the contents to release. Makes 10 pops. (My mold makes 8, so we drank the remainder like a smoothie.)  

    To assist you in overcoming minor issues that you may encounter… sticks that float to the side, difficulty pulling the lid off the sticks post freezing, difficulty removing the popsicle from the mold, and difficulty replacing the metal lid after removing popsicle(s), this is what I did. First, when filling the molds, leave 1/2 inch space at the top to allow for expansion. Place the metal lid on top, then insert the sticks leaving 2 inches exposed to create a handle. If the sticks float to the side, then do this. (I didn't need to do this.) Before inserting sticks in molds, cover with the lid and freeze until slushy for about an hour. Insert the sticks and make sure they are standing upright, not at an angle, which will make the lid easier to remove when the pops are frozen. To unmold, instead of running warm water over the molds or submerging them in water, I wrapped my hand around a single mold for a minute or so to warm it slightly. There is a small bit of suction and out it comes. Replacing the metal lid is somewhat tricky, but not a huge event. If the sticks are inserted so they stand vertically, it alleviates virtually all frustration. Also, once the popsicles are frozen, it isn't necessary to replace the metal lid, so just leave it off if you like.   


  • To make yogurt, milk is heated then cooled. I had been using a candy thermometer to monitor the temperature of the milk. When I bought my daughter Heather a yogurt maker as an early birthday gift recently, she told me that she uses a digital thermometer that beeps when it reaches a preset temperature. I immediately ran down to get one at Target. No more endless annoying trips to check the temperature. It has simplified the process so much that making homemade yogurt is as easy as running to the store and grabbing a carton off the shelf, but homemade is WAY better tasting… so smooth and fresh. 

    Digital thermometer

    To acquire an accurate reading, you don't want your probe touching the bottom of the pan, so it was one of those… it was there… let's use it… it works… moments. My sweater wrapped tea jar and a clothespin, that I use for various purposes such as sealing a bag of oatmeal, were both sitting on the counter next to my stove. By snapping the clothespin onto the jar's edge, I was able to prop the probe so it hung in the milk at a level just above the pan's bottom.

    Why fuss making homemade yogurt? Heather described the experience by saying that homemade yogurt is "smooth, not just smooth, the silkiest smooth that ever passed my tongue, so mild, not a hint of tang whatsoever, thick like pudding." According to the Stonyfield web site, "Probiotic cultures, also known as probiotics and beneficial bacteria, are micro-organisms that naturally live in your digestive tract, but need regular replenishing. Antibiotics, poor nutrition, surgery, stress, alcohol, smoking, pollution and aging can all reduce the amount of beneficial bacteria in your intestine, causing your immune system to decline. You can replenish and maintain a healthy balance of the beneficial bacteria in your intestine by eating a cup of (live active culture) yogurt each day."

  • Convection toaster oven 

    If soaking grains overnight to release nutrients bound by phytates/phytic acid prior to cooking or baking (as explained in the previous two posts) seems impossible to fit into your present schedule (although it really doesn't require any more time… just a bit of preplanning) or if a recipe doesn't have an adequate amount of liquid needed to obtain the flour paste consistency for the "soaking" process, there are sources for purchasing sprouted grain flour (sprouting being another method to win the phytate battle) so that all you have to do is scoop and measure. To save you $, I will share how to make homemade sprouted grain flour, but that is for another day. Today, I called on Bob's Red Mill to assist me in baking a loaf of bread. My bread machine kneaded the 10 grain bread mix and encouraged the first rise in its temperature-controlled environment. I then transferred it to a loaf pan, set it in my conventional oven with a pan of hot water on the rack underneath to provide a warm environment, then closed the oven door for the second rise since my kitchen is quite cool this morning. I used my convection toaster oven, that I received from Dick for Christmas, to bake it to a golden brown.   

    Bob's red mill 10-grain bread mix 
    The mix makes a 1 1/2 lb loaf with 2 grams of fiber. One would expect the fiber content to be higher with that many grains, but you can pump it up with some additions such as ground flaxseed, wheat germ or dried fruit… add some raw sunnies or walnuts for crunch. Making bread from scratch doesn't take but a wee fraction of time longer than this mix, but it's perfect for busy days when you want the aroma of freshly baked bread to waft through your kitchen with as little as five minutes effort expended. 

  • The morning sun streaming in the window meant it was time to finish the batch of pear pecan muffins that I started yesterday when I mixed all of the grains in the recipe (1 1/2 cups sifted whole wheat pastry flour, 1/4 cup rolled oats, and 2 tbsp wheat germ) with an acid medium (1 cup buttermilk) and let it set overnight to deactivate the phytic acid in the grains that blocks the absorption of important nutrients. Remember the acid medium can be milk (preferably raw unpastuerized and unhomogenized from a local reputable source), water, nut milk, or coconut milk with 1-2 tbsp raw apple cider vinegar added, or yogurt, kefir, or buttermilk… whatever your recipe calls for. (If using yogurt, kefir, or buttermilk, you don't add vinegar.) So here we go… 

    Pear pecan muffin ingredients gathered 

    Preheat oven to 375°. Assemble your ingredients. You will the need the bowl of "soaked" grains that you mixed together yesterday and two more bowls. In one bowl, whisk the recipe's remaining dry ingredients. In this particular recipe, it is 3 tbsp lecithin granules, 1 tsp baking powder, 1 tsp baking soda, 1 tsp cinnamon, and 1/8 tsp nutmeg.  In another bowl, whisk the recipe's remaining wet ingredients. In this recipe for pear pecan muffins, it is 2 eggs, 1/4 cup maple syrup. 2 tbsp olive oil, and 1 tsp vanilla. You'll also need 1/2 cup chopped pecans or walnuts and 1 1/2 cups coarsely chopped pear (approximately 1 pear). Now, this is how you combine everything. Add the bowl of dry ingredients to the bowl of wet ingredients and whisk until combine, then add it to the soaked grain mixture. Mix just until combined. Don't overmix. Fold in nuts and chopped pears. Fill a regular(12) or jumbo-size (6) muffin tin with batter and bake for 18 minutes until golden brown and toothpick inserted in center comes out clean. Now enjoy the fruit of your labor… which really was very simple, don't you think?

    Pear pecan muffins baked

  • As I have been progressing through my Holistic Nutrition classes, the terms phytates and phytic acid keep popping up. What I have learned is that phytates, or phytic acid, is found mainly in the outer covering (bran) of whole grains. The problem is that phytic acid can bind minerals such as calcium, iron, copper, magnesium, and especially zinc and they can be carried out through the intestinal tract without being absorbed. So what is a girl to do?! Well, I didn't want to be the bearer of discouraging news, so I waited until I discovered a solution. Actually, there are several solutions that I will suggest : soaking (in an acidic medium), sprouting, and souring or fermenting (to make sourdough bread). Let's give the soaking method using an acidic medium a whirl with a batch of muffins…

    Soaked muffins 1st step 

    Scan your recipe's ingredients for grains. In my recipe for Hearty Pear Pecan Muffins from Jane Kinderlehrer's recipe book, Smart Muffins, it is 1 1/2 cups sifted whole wheat pastry flour, 1/4 cup rolled oats, and 2 tbsp wheat germ. Measure and add them to a mixing bowl. An acidic medium is needed to neutralize the phytic acid which is blocking the absorption of important nutrients in the grains. It can be yogurt, kefir, whey, or buttermilk. It can also be 1-2 tbsp raw apple cider vinegar added to a cup of milk, water, nut milk, or coconut milk… whatever your recipe calls for. If using cow's milk, it should preferably be raw unpasteurized and unhomogenized from a local reputable source. (If using yogurt, kefir, or buttermilk, you don't add vinegar.) My recipe calls for 1/2 cup buttermilk, but 1 cup is needed to achieve a flour paste consistency, so I adjusted the amount to 1 cup, which doesn't affect the recipe negatively at all. Mix these ingredients together just until incorporated (don't overmix), cover, and let soak 8 to 24 hours in a cool location on your kitchen countertop.

    Soaked muffin 1st step mixed 

    Soaked muffins covered 

    I'll see you right back here tomorrow morning to finish up my batch of muffins.