Whiteley Creek Homestead

LIFE AT THE END OF A DIRT ROAD IN CENTRAL MINNESOTA

organically grown triticale in our field
canoeing in our wetlands
raspberries growing wild on our property
our back porch fieldstone fireplace
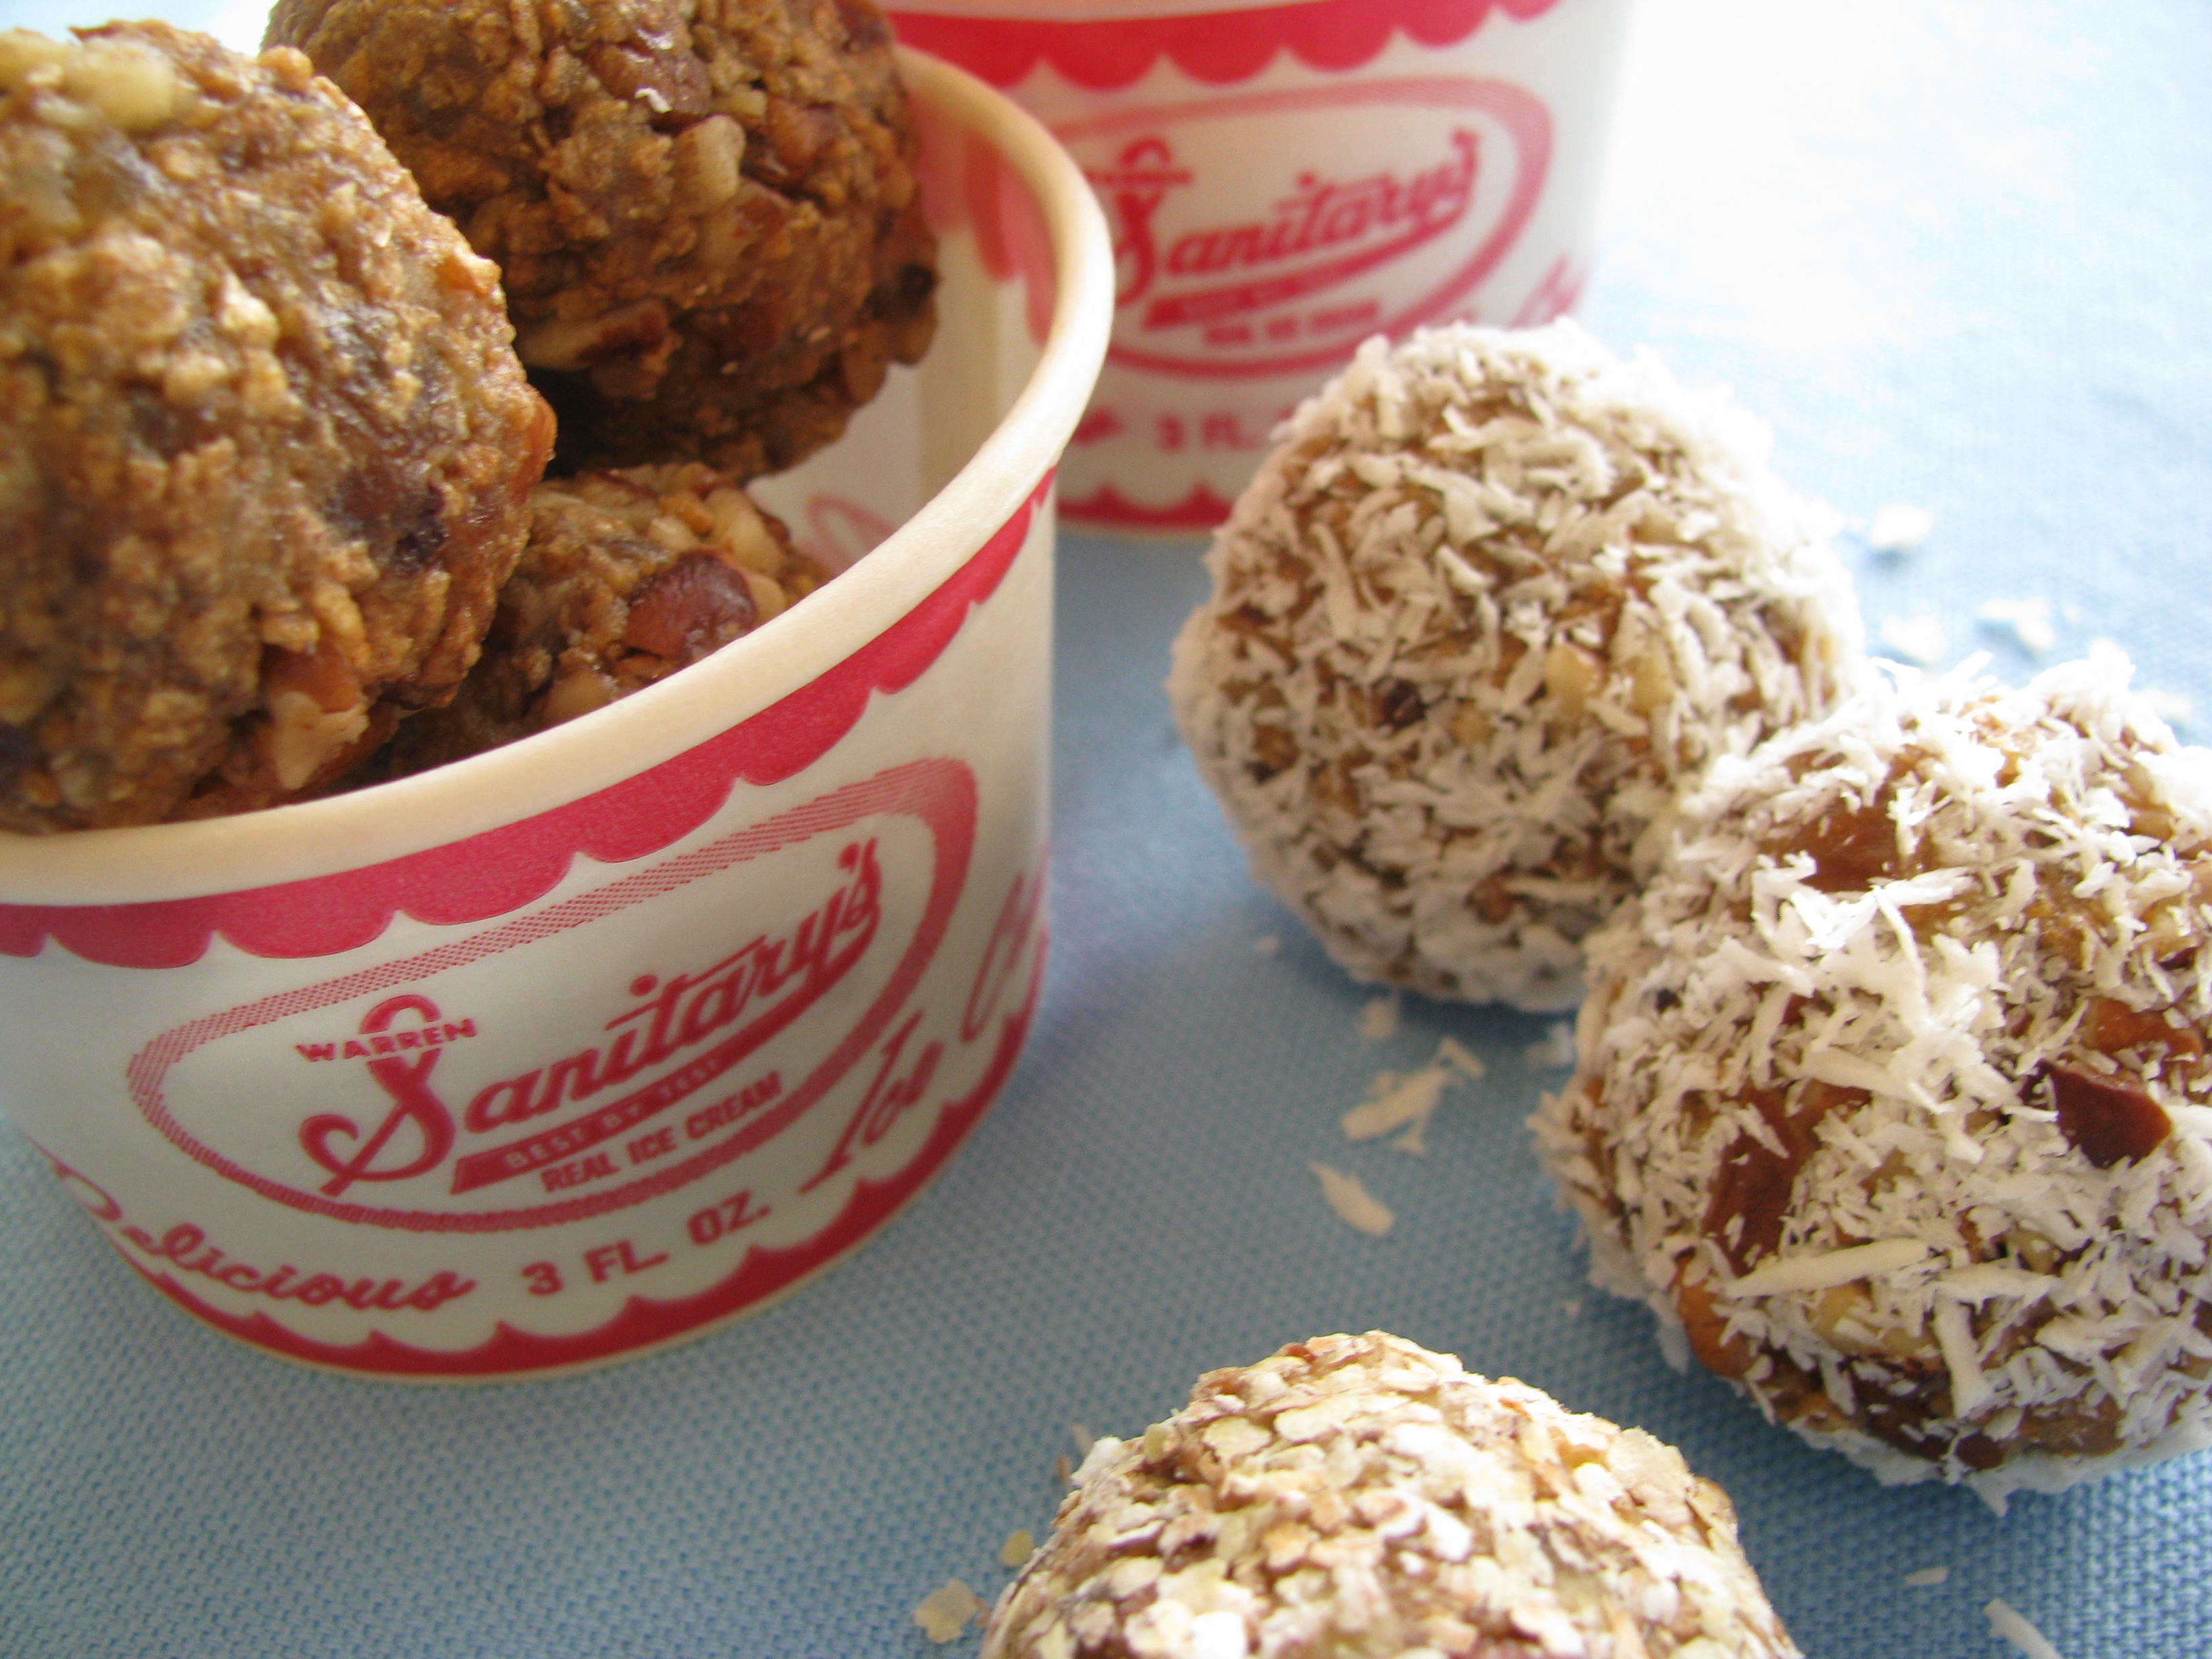
  • On the 101cookbooks blog, where I found this recipe, these cookies are called Nikki's Healthy Cookie Recipe. I renamed them "Banana Oatmeal Coconut Cookies". It won't win an award for the world's most creative name, but it accurately describes the main ingredients. From that point forward, you can change up the recipe by adding in whatever's in your pantry to add chewiness and crunch. The first time I made them, I used a chopped and shaved dark chocolate bar as the original recipe suggested. In this batch that I made last evening, I eliminated the chocolate and chopped up 1/3 cup walnuts, 1/3 cup dates, and 1/3 cup candied ginger instead. In the recipe below, I have offered additional add-in suggestions.

    Banana oatmeal coconut cookies

    Banana Oatmeal Coconut Cookies

    3 large ripe bananas, well mashed (about 1 ½ cups)

    1 tsp vanilla

    ¼ cup coconut oil, barely warmed – so it isn’t solid to be easier to mix in

    2 cups old-fashioned oatmeal

    2/3 cup *almond meal

    1/3 cup unsweetened coconut, finely shredded

    ½ tsp cinnamon (You can play with the spices a bit.)

    ½ tsp sea salt

    1 tsp baking powder

    Optional add-in suggestions: Oh, the possibilities… walnuts, dates, candied ginger, raisins, dried cranberries, raw sunnies, pistachios, a dried fruit and nut trail mix, muesli… 

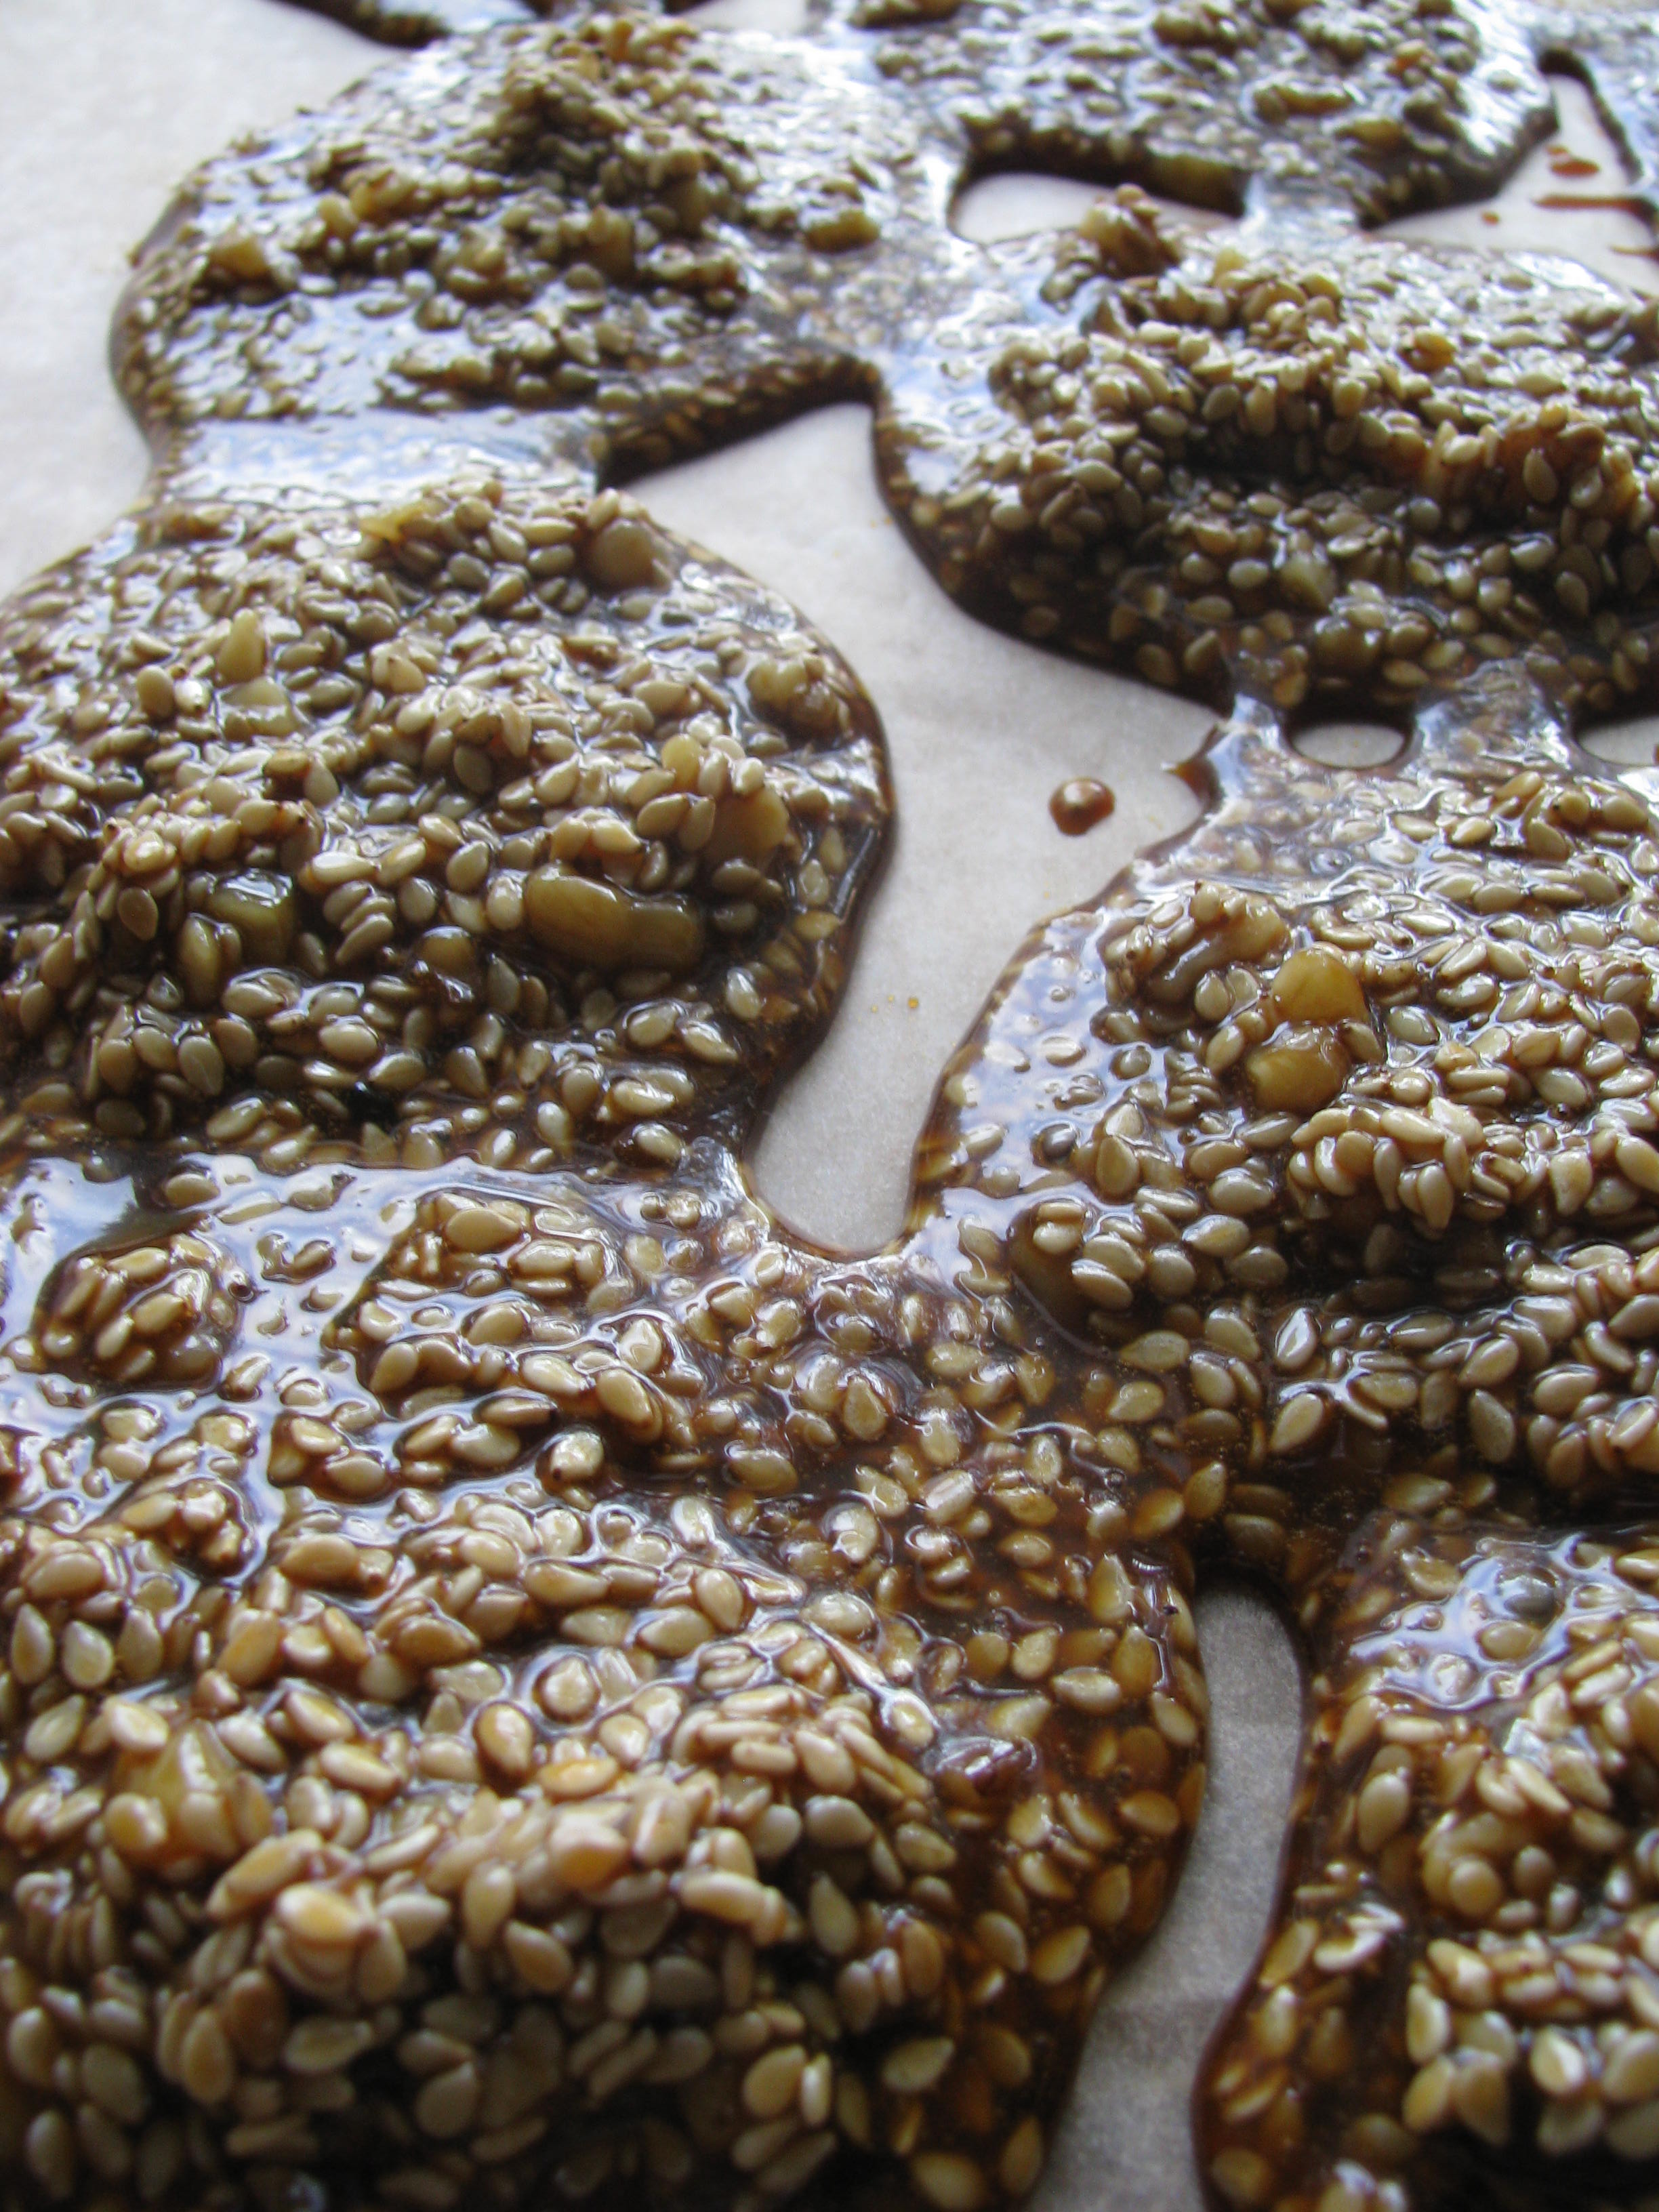
    Preheat oven to 350° with rack in the top third. In a large bowl combine the bananas, vanilla, and coconut oil. Set aside. In another bowl whisk together the oats, almond meal, shredded coconut, cinnamon, salt, and baking powder. Add dry ingredients to the wet ingredients and stir until combined.  Fold in any additions of dried fruit, nuts, and/or seeds. Drop by tablespoon onto parchment-lined baking sheet. Bake for 15-20 minutes. To allow enough time for the cookies to bake through to the center, bottoms will be a deep golden brown but not burnt.

    *You can purchase almond meal or make your own by pulsing almonds in a food processor until you achieve the texture of sand. Don’t process too long or you’ll end of with almond butter.  
     

  • When I was rolling my Raw Vegan Oat Flax Cookies in sesame seeds a few days ago, I spied a recipe for Sesame Balls on the back of my Arrowhead Mills Sesame Seed package that looked worthy of trying. Sesame seeds are an excellent source of calcium and iron and, according to the package nutrition facts, they contain 7 grams of omega-6, 4 grams of fiber, and 6 grams of protein per serving. They are supposed to be balls, but I wanted to go for a walk and I got impatient waiting for my candy thermometer to register 236 degrees, which is soft ball stage. It reached 232 degrees and I plopped the scoops onto parchment paper then into the fridge they went. You don't stir the mixture while it's cooking, so it's really no trouble at all just checking the temperature now and again but, like I said… I wanted to go for a walk. The mixture did thicken, but not enough to retain a ball shape however… 

     Sesame balls 

    After leaving them in the fridge overnight, I was able to roll them into balls that retained their intended spherical shape making a perfectly nutritious snack while studying. The recipe is so simple and they taste like your favorite candy bar, so give it a whirl and let the thermometer climb all the way to the soft ball point.  

    Sesame balls (2) 

    Sesame Balls

    1/3 cup light cream

    2/3 cup honey (I reduced it to 1/3 cup and it was the perfect sweetness.)

    1/3 cup unsulphured molasses

    1 tbsp oil (optional… I didn’t add.)

    ¼ cup finely chopped nuts (I used walnuts.)

    1 cup unhulled sesame seeds

    Stir and heat cream, honey, molasses, and oil (if using) in saucepan until mixture reaches soft ball stage on a candy thermometer. Alternatively, you can test it by dropping a wee bit of mixture into cold water. It should form a soft ball. Remove from heat. Add nuts and seeds. Beat until thick. (Place saucepan in fridge to speed the thickening.) Drop by tablespoon onto lightly oiled platter or parchment paper. Chill. When cool, roll into balls. Keep cool until ready to serve.

  • In my next life, I will have wood floors throughout my entire house. Since that is not my present status, I had my carpets steam cleaned today. Nice… very nice job. The drying stage has limited my movement considerably. Living room and bedroom furniture, as well as odds and ends from here and there, are temporarily residing in my kitchen. Somehow I managed to maneuver around things to try a new recipe, "Raw Vegan Oat Flax Cookies", that I found on "The Fitness Freak" Blog. I reduced all quantities by half to fit into my miniature Betty Crocker Food Processor that I found at a garage sale a few years ago. Also, it allowed me to try the recipe and not waste ingredients if it should happen to flop. No need for concern there. Good… very good. (The recipe amounts I provided in this post are for a full recipe.)  

    Betty crocker food processor 

    Oat flax cookies

    Raw Vegan Oat Flax Cookies

    2 cups *oat flour

    ½ cup **flax meal

    5 to 6 tbsp agave (For ½ recipe I used 1 tbsp agave + 1 tbsp brown rice syrup, so for a full recipe I’d use 3 tbsp total. You might need to use more if you are using all agave.)

    3 tbsp almond butter

    2 tbsp coconut oil

    1 tsp alcohol-free vanilla

    dash sea salt

    Mix all ingredients in food processor until smooth. Drop by tablespoon onto parchment paper, form into balls, then roll in finely-shredded unsweetened coconut or sesame seeds or leave plain. Press gently with heel of your hand to flatten slightly. Place in fridge or freezer in sealed receptacle.

    * You can purchase oat flour or make your own by whirring rolled oats in blender until it has the consistency of flour. Use 1 ¼ cups oats to make 1 cup oat flour.

    ** You can purchase flax meal or make your own by using a coffee grinder to grind seeds to the consistency of cornmeal. 2/3 cup flax seed yields 1 cup of meal.


  • "Ah! To do nothing – and do it well." This is a quote from a book I have, that I apparently don't refer to often enough, titled The Art of Doing Nothing Simple Ways to Make Time for Yourself by Veronique Vienne. I have found that the month of December is not the ideal time of year to commit oneself to such a lofty but worthy goal, so… I made my first batch of Christmas cookies this morning. It is a new recipe that I found on eatingwell.com and a keeper! The recipe is simple with few ingredients which spells quick, they are nutrient-packed, and yummy… the traits that make a recipe a winner.    

    Date bran (or flax) jingle balls 

    Date Bran (or Flax) Jingle Balls

    ½ cup pecans

    2 cups bran flakes cereal (I used flax flakes cereal since it’s what was in my pantry… a perfect substitution.)

    ¾ cup whole pitted dates (I coarsely chopped them to aid the food processor.)

    3 tbsp honey

    2 tbsp cream cheese, softened (I substituted *Farmer Cheese because it’s what I had.)

    2 tsp orange juice

    ½ cup finely shredded unsweetened coconut or wheat germ

    Coarsely chop pecans in a food processor, place in a small bowl, and set aside. Place cereal and dates into a food processor and process until finely chopped. Add honey, cream cheese (or farmer cheese), and o.j. then pulse until a stiff dough forms. Add chopped pecans and process briefly so as not to finely chop them (or you can stir them in by hand). You want the nuts to remain in coarse pieces. Scoop tablespoon-size portions onto parchment paper and shape into balls with lightly moistened hands. Leave balls as is or roll in coconut or wheat germ. Store in the fridge for up to 5 days. (I put my in the freezer for longer storage.)

    *Farmer cheese is similar to ricotta cheese. It is a drier product than cream cheese but, even so, it substituted well in this recipe. According to the Friendship Dairies web site, Farmer Cheese is very low in lactose; each serving containing less than 0.5% lactose. This is important for people with restricted diets who still crave dairy products and cheese. In fact, some "intestinal health experts" recommend Dry Curd Cheese for those suffering from digestive conditions such as Crohn's Disease, Colitis, Diverticulitis and Celiac Disease.


  • Photo book 2009 p. 5(1) 
      
    Snapfish is an online photo service that allows you to store photos to share with others. All that's required to get started is to set up a free account, then prints can be ordered, photos can be downloaded from the site into your computer, and items can be made out of those photos (e.g. books, posters, and mugs). It's a great way to view family and friends' photo collections to be able to select and purchase the photos that you want. For one week, through December 2, Snapfish is offering 50% off photo books on their site. For each photo book purchased, Snapfish will donate $1.00 to a food bank in your home state. This promotion was featured on Rachel Ray's Thanksgiving on Main Street Show that aired November 25. You just need to enter the coupon code RRBOOK during the checkout payment step upon completion of your book. I created an 8×8-inch 20-page hardcover photo book of my grandkids. It's quite simple. First, you decide what photos and scans you want to use and upload them to Snapfish. Next, you choose a book format, size, and theme. Finally, you can either use the auto-fill option which automatically adds photos to your book or you can manually place each one where you choose. Once you become familar with the commands and what your options are, it is really a simple and quite amazing process as the album begins to take shape on your computer screen and you can flip each page to see your handiwork before purchasing your end-product. Here is a sampling of pages from my book. On some pages I told a story…

    Photo book 2009 p. 4(1)
     

    On other pages I featured a grandchild's artwork…

    Photo book 2009 p. 8

    or a collage of themed photos…

    Photo book p. 17


  • Eric carle's advent calendar 

    This "Dream Snow" pop-up advent calendar by the renowned children's book author and illustrator Eric Carle is way too fun to not get the word out. It is available from Chinaberry for $10.99. I already placed an order for shipments to my grandkids. According to the catalog and web site description, "Traditional advent calendars have 25 little doors or flaps to open, with something festive to see inside. This calendar goes even further. As you open it, an amazing scene pops up, complete with Santa, a Christmas tree, and 5 merry packages under the tree! Inside the doors are either ornaments to put on the pop-up tree or gifts to put inside the boxes, allowing children to play more of an interactive role than just peeking inside a flap each day." You'll need to get your order in pronto since December 1, the first day to begin opening the calendar's flaps, is Tuesday of next week.

  • My friend Sandy, who owns Country Roots Greenhouse on Highway 18 east of Brainerd towards Garrison, gave me a huge buttercup squash that she had grown in her garden. If you've eaten a number of winter squash in your lifetime, you know that all squash are not created equal. If, when slicing a Buttercup squashbuttercup squash into two halves to prepare for baking, you are greeted with an intensely dark orange color indicating peak ripeness… well, that's the ultimate assurance that it will not disappoint you. Sandy's gift was just such a squash. After eating half of it a couple days ago, I dug out a recipe that I had torn from a November 2009 issue of tasteforlife. The free publication is commonly found at health food stores near the checkout. My daughter Heather had picked up this particular issue near her home in New York so, when I was about to catch a flight back home after Dick's and my recent visit there, she kindly shared it with me for reading material on the plane. These gluten-free (if millet flour is used) vegan Oatmeal Harvest Cookies, that I made last night to pack into Dick's lunch for a day trip with some buddies whom with he shares old car interests, came from the tasteforlife publication. They are so very tender, a powerhouse of nutrition, and such a pretty autumn color for these final days of November! 
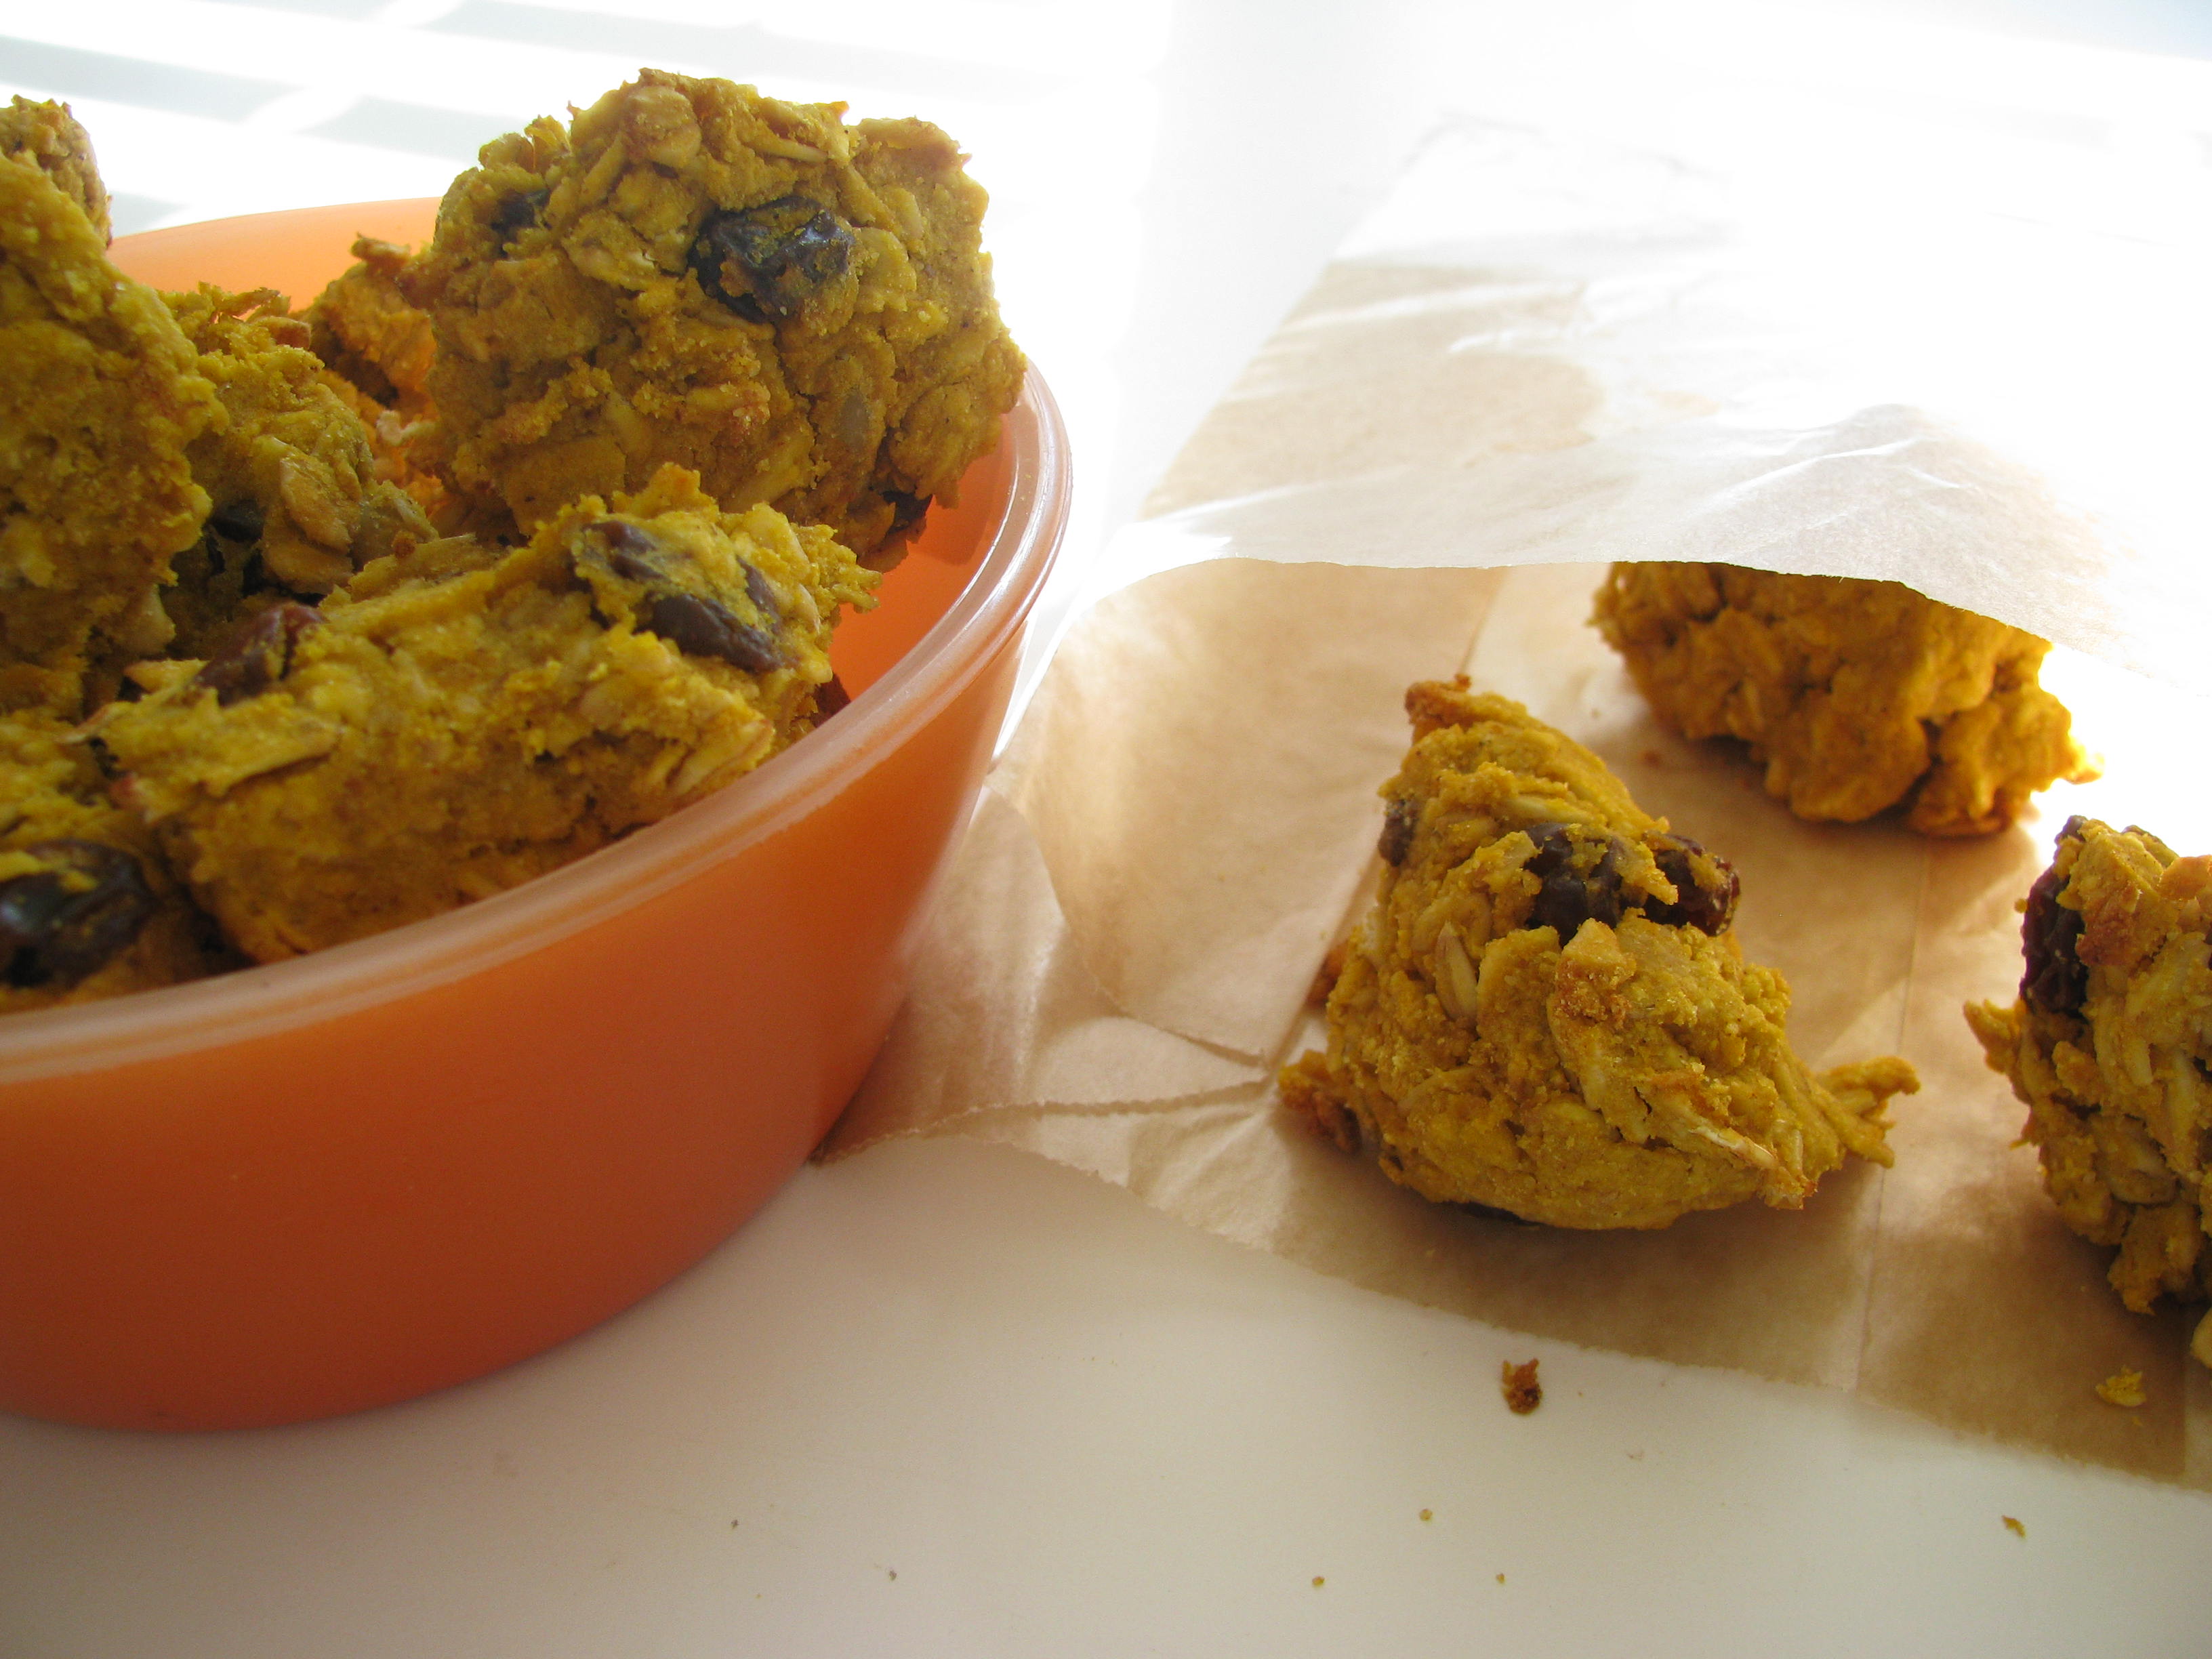
    Oatmeal harvest cookies 

    Oatmeal Harvest Cookies

    2 tbsp raisins (I increased to 3 tbsp, plumped them, and added the plumping liquid to the dough.)

    1 ½ cups oatmeal

    ½ cup whole wheat pastry flour, oat flour, or millet flour (I had all three kinds on hand, but I chose millet because I don’t use that flour often enough. Millet is a source of vitamin B2 which is also known as riboflavin. Also, the recipe already includes oatmeal, so I didn’t want to duplicate that ingredient by using oat flour.)

    ½ tsp salt

    ¼ tsp baking soda

    ¼ tsp cinnamon

    1 cup mashed baked winter squash (e.g., acorn or buttercup) or sweet potato

    3/8 cup oil (1/4 c plus 2 tbsp) I used ¼ cup unsweetened applesauce + 2 tbsp olive oil

    2 tbsp chopped nuts (I used walnuts, but raw sunnies would be very good.)

    Preheat oven to 350°. Plump raisins by pouring a little boiling water over them in a small bowl. Let soak until plumped, about 15-30 minutes. Mix dry ingredients together. In a separate bowl, mix mashed squash or sweet potato, applesauce, and oil. Add to dry ingredients. Stir in raisins, raisin plumping liquid, and nuts. Drop by heaping tablespoon onto lightly oiled cookie sheet. Bake 15-20 minutes. Note: Millet flour, which is gluten-free, can be found in most grocery stores in the health food section. Arrowhead Mills is a common brand.

  • In one of my textbooks Herbal Recipes for Vibrant Health, for the Basic Herbology class that I am taking to earn my Holistic Nutrition Degree, the book’s author Rosemary Gladstar speaks of a mythical Greek goddess named Cosmeos who “gave to mortals the gifts of herbs, flowers, and other simple pleasures to nourish the body and soul. She personified radiant health that flowed from a core of harmony and balance.” (p. 113) On this Thanksgiving Day 2009, as we embark on the upcoming Christmas season and the busyness that it can entail, my goal is to seek out simple pleasures, maintain a sense of harmony and balance in the everyday, and nourish my body and soul so that I might embody radiant health that comes from within. These potassium-rich Banana Maple Walnut Muffins from Jane Kinderlehrer's Smart Muffins are a good start along with a soothing cup of Bigelow Organic Green Tea with Pomegranate and Acai.


    Banana maple walnut muffins 

    Banana Maple Walnut Muffins

    ½ cup *plumped raisins

    ¼ c wheat bran

    ¼ cup yogurt

    2 eggs

    2 tbsp olive oil

    3 tbsp maple syrup

    1 cup mashed bananas (about 3 medium)

    1 tbsp lemon juice (I used 1 tbsp liquid from plumping the raisins instead.)

    1 1 ¼ cup whole wheat pastry flour

    ½ cup wheat germ

    ½ tsp baking powder

    ½ tsp baking soda

    1 tsp cinnamon

    1 tsp grated orange rind (optional)

    ½ cup chopped walnuts or raw sunflower seeds (I used ¼ c of each.) plus a little more for muffin tops

    Plump the raisins. In a small bowl, mix together the bran and yogurt. Set aside. In a mixing bowl, blend together the eggs, oil, maple syrup, mashed bananas, and lemon juice (or raisin liquid). Add the yogurt-bran mixture and the raisins. In another bowl, mix together the flour, wheat germ, baking powder, baking soda, cinnamon, and orange rind. Preheat oven to 375°. Lightly oil 12 regular-size muffin cups or 6 jumbo-size. Add the dry ingredients to the banana mixture and process briefly – only until no flour is visible. Don’t overmix. Stir in the walnuts and sunflower seeds. Spoon the batter into the prepared muffin cups. Top each with a few chopped walnuts or sunflower seeds. Bake for 20 minutes or until a toothpick inserted in center comes out clean. The muffin tops will have a golden glow.


    *To plump raisins, pour a little boiling water over them in a small bowl. Let soak until plumped, about a half hour. If you do this as the 1st step in your recipe, before you even begin to gather all of your recipe ingredients together, they’ll be ready by the time you need to add them to your mixture. If you run short on time and you need to reduce the plumping time, it’s not a problem. They’ll still be soft enough in the baked product.


  • Ever since my daughter Lisa moved to New Jersey, I have wanted to find the home where Martha Stewart spent her childhood. During Dick's and my recent trip there, Lisa kindly helped me accomplish this item on my "bucket list". It turned out that her home, according to MapQuest, is only 5.12 miles away from Lisa's home!

    Martha stewart's childhood home 

    Martha stewart childhood home house number 

    The home is located at 86 Elm Place in the town of Nutley, New Jersey.

    Martha stewart childhood home street sign

    To be sure I had the right house, an internet search provided the following information and a photo of the house confirming it. The only detail that had changed is that instead of Elm St., as the address was when Martha lived there, it is now Elm Place.

    Martha's childhood home for sale

    Asking price from current owners for three-bedroom

    New Jersey house: $549,000.

    June 7, 2004: 2:53 PM EDT


    NEW YORK (CNN/Money) – The house where Martha Stewart grew up in Nutley, N.J., is for sale.

    Stewart's last name was Kostyra when she lived in the house as a child. Her mother sold it to the current owners in 1987. The three-bedroom, 1,922-square-foot house, built in 1930, went on the block this week at an asking price of $549,000.

    The domestic diva grew up in this modest but comfy house at 86 Elm Street in Nutley, NJ.

    <!–
    var clickExpire = "-1";
    //–>

    Martha stewart house realty photo
       

  • During a visit with our daughter Heather in New York over the past two weeks, Heather's husband Patrick suggested that we tour a nearby 80-acre farm 30 miles north of mid-town Manhattan. The nonprofit Stone Barns Center for Food and Agriculture is a four-season educational center that offers workshops, conferences, lectures, cooking classes, book discussions with noted authors, kids' summer day camps, etc. The farm's sustainable in-season farm-to-table operation includes pastured livestock and garden plots that provide year-round produce for the onsite cafe and restaurant, as well as their weekly farmers market.  Stone barns farm 

    Row covers and greenhouses are used to extend the farm's growing season.

    Stone barns farm greenhouse

    I was intrigued by the plants growing so closely together in straight… very straight rows. The space-saving strategy is similar to the "square foot" gardening method except utilizes long rows instead of 12 x 12-inch blocks of space. It would be far too labor intensive for a person to plop one seed at a time into the ground on such a large scale as this farm. What device was used? A farm worker showed me the planting device. It has four or so side-by-side seed compartments attached to a wooden handle. It simultaneously digs tightly-spaced little furrows and drops seeds as you pull it behind you. The settings allow adjustment for different size seeds. I immediately pondered its application in my own small home-gardener plot. Upon one final inquiry, I learned that it was available at Johnny's Seed Company. It turns out that it isn't going to be that simple to locate it, however, since my search on Johnny's web site turned up empty. They do sell a seed planter, but it's different. Its usefulness warrants further persistence.