Whiteley Creek Homestead

LIFE AT THE END OF A DIRT ROAD IN CENTRAL MINNESOTA

organically grown triticale in our field
canoeing in our wetlands
raspberries growing wild on our property
our back porch fieldstone fireplace
  • Besides the plantable calendar that I gave my daughter Heather for her birthday, I gave her a book filled with patterns and directions for making a variety of projects using t-shirts. What a fun way to recycle!

    T-shirt book  

    If you're struggling for birthday, anniversary, baby, wedding, and other gift ideas, check out my daughter Jessica's new site: thegiftenchiridion.com. She has compiled gift suggestions, with web links, organized in 22 categories including  mom-on-the-go, creator, organizer, chef, baker, letter writer, bookworm, horticulturalist, environmentalist, traveler, handy person, techie, fashionista, new home, hostess, wedding, anniversary, bambino, toddler, pre-teen, teen, and collegiate. She will be adding new ideas at the beginning of each month, so check back frequently.

    Mar. 7, 2009

    Today's mileage: I did 1 hr of yardwork (raking leaves), but how does that translate into mileage?!!

    Total monthly mileage for March: 14 miles (same as yesterday) 

    Bible reading? Yes. 

  • Yesterday's post highlighted my recent purchase of four desk calendars with wildflower seeds embedded in each of the 12 monthly pages to plant in soil at the conclusion of each month. A few days ago, when I placed my Olive Barn online order for four of them, it said that there was only one remaining in stock after they removed my four from their inventory. However, I didn't think much of it, because on etsy it says "1 in stock" when in reality many times there are more available if you want to order more. Such was not the case with these calendars. I later learned that they are sold out and aren't going to be restocked. There truly was only one left in stock when I placed my order. I feel fortunate to own four of them. So what do I have planned for my four calendars? Well, today I sent one of them to my oldest daughter, Heather, for part of her birthday gift. 

    Plantable calendar wrapped 

    I wrapped the tin holding the calendar pages in pretty pink paper, wrapped a length of ribbon a few times around the package, then attached a flower to the top to add a fun splash of color. I made the flower by dismantling a lei that I received at a Hawaiian-themed wedding shower a year ago. I ran a knotted length of crochet thread through the center holes of four flower petals, tied a knot on the underside of the bottom flower, then taped the thread "tails" to the package. I thought it turned out so pretty and was a perfect recycle/reuse of an item in my craft room.

    O.K., that's one of my four calendars down the road. A second one, I kept for myself to set beside my laptop computer as a happy reminder that spring planting season is approaching and to plant a page each month in anticipation of a different wildflower to transplant into my garden plot/flower bed. That leaves two left. One of the two is for my sister, Rita, for her birthday in April. That leaves only one. My final one I am offering up to you, my blog's readers, in a drawing. It will work the same as my drawing that took place after my food blog award contest. If you think the calendar is useful, ecofriendly, and fun, and you would like to have one, all you need to do is leave a comment on this post by 8 p.m. Monday, March 23, 2009 when the drawing will close. Dick will anonymously draw a name from all of this post's commenters and I will announce the winner on Tuesday the 24th. So that I am able to contact the winner, be sure to supply your email address in the comment form. It will be invisible to other readers of my blog. If you haven't already done so, check out yesterday's post to see a detailed description of this prize being offered. 

    Mar. 6, 2009

    Today's mileage: 2-mile walk

    Total monthly mileage for March: 14 miles 

    Bible reading? Yes. 

  • I ordered this 2009 desk calendar "made tree-free from recycled and renewable materials. Each month's page is embedded with one of 12 different wildflower seeds."

    Plantable desk calendar 

    At the conclusion of the month, you place the page under a thin layer of soil, water thoroughly, and keep moist throughout the germination process. The tin that houses the calendar pages is even reusable. Wouldn't it be great if all products were designed and manufactured with a no waste end product?

    Calendar pages planting 

    I created a planting tray by hammering four nail holes for drainage in the bottom of an old very well-used cake pan that I purchased at a thrift shop then filled it with potting soil. After I shot this photo, I scattered a layer of soil over top of the calendar pages then spritzed with water. How fun to wait and see what kinds of wildflowers poke though the soil from January and February's plantable pages! 

    I ordered and received four of these 2009 plantable calendars in yesterday's mail after seeing them in my Body + Soul Magazine. I was so excited to tell you about them so you could order your own. Sadly, upon just now going to Olive Barn to copy their link for you, I discovered  they have sold out and they won't be restocked. A silver lining is that I'm thinking maybe they'll carry them again in 2010, so check back with Olive Barn at the end of 2009. Also, a search may turn up the calendars on another site.    

    Mar. 5, 2009

    Today's mileage: 1-mile walk plus 5-mile bike ride

    Total monthly mileage for March: 12 miles 

    Bible reading? Yes. 

  • After reducing the amount of honey and eliminating the oil called for in this recipe, without sacrificing flavor, these spelt bars are a nutritious tasty snack or grab-n-go breakfast. 

    Spelt bars  

    Spelt Crunch from Body + Soul Magazine May 2008

    Serves 8.

    1 ¼ cups spelt flakes cereal (I used 2 1/2 cups instead.)

    ½ cup dried cherries (I have used dried cranberries, raisins, and a combo of the two)

    ¼ cup sprouted or *ground flaxseeds (See note at bottom of recipe.)

    ¼ cup coarsely chopped pecans (I used walnuts.)

    2 tbsp pistachios (I used 2 tbsp raw sunnies + 2 tbsp raw pumpkin seeds… they are a green color and can be found in food co-ops and the health food section of your local market. Pine nuts would be good, too.)

    ¼ tsp salt (omit this or not… it’s up to you.)

    ½ ¼ cup honey (preferably raw and unfiltered)

    ¼ cup natural peanut butter

    1 tbsp walnut oil

    ½ tsp vanilla

    Preheat oven to 325°. Brush an 8×8 inch baking dish with oil, then line bottom and sides with a piece of parchment paper. (The oil makes the parchment paper adhere to the pan.) Brush paper with oil. In a bowl, combine spelt flakes, cherries, flaxseeds, pecans, pistachios, and salt; set aside. In a small saucepan, combine honey, peanut butter, oil , and vanilla. Heat just until melted. Add to dry ingredients and stir to combine. Transfer mixture to prepared pan; smooth top. Bake until golden and edges pull away from pan, 20-25 minutes. Cool completely in pan. (Bars will become firm and crisper after cooling.) Using paper, lift bars out of pan. On a cutting board, cut into 8 pieces using a serrated knife. Note: I don't bother melting the honey and peanut butter or baking the mixture either. No need… there's nothing in the mix that needs to be cooked or baked and the cereal remains crispier in its unbaked form… and it simplifies the whole process.

    * “Sproutman”, Steve Meyerowitz, doesn’t recommend sprouting flax for several reasons. He says, “Flaxseed is a wonderful seed with many health benefits. However flaxseed sprouts are very high in oxalic acid (which binds calcium) and, because of that, they have an extremely bitter taste. If that wasn’t discouragement enough, they are also gelatinous, which makes them hard to manage for most home sprouters. Also, one of the main benefits of flax, its soft fiber, which is great for soothing and cleansing the intestinal wall, disappears during germination. 


    Spelt flakes cereal  


    Ingredients: organic wholegrain spelt flakes, organic fruit juice concentrate (apple, pear or grape), sea salt, ascorbic acid (Vitamin C) and natural Vitamin E (to preserve freshness).


    Mar. 4, 2009

    Today's mileage: 0

    Total monthly mileage for March: 6 miles (same as yesterday) 

    Bible reading? Yes. 

  • I have been wanting a label maker for a number of years so, when this model went on sale at Staples, I moved on it. It is a Brother P-touch Model PT-2700. 

    P-touch labeler

    After installing the computer software included with the machine and flipping through some pages in the instruction book, I was anxious to get started. My first project was to label the jars that store my seeds for sprouting. I chose to add a border with tiny blossoms.

    Sprouting seed jar labeled

    … and here are my seeds, labeled and ready to go.

    Sprouting seeds labeled 

    Mar. 3, 2009

    Today's mileage: 2 mile walk

    Total monthly mileage for March: 6 miles 

    Bible reading? Yes. 

  • My seeds for sprouting arrived in the mail today. I transferred them from their individual plastic shipping bags into 16 oz. glass jars that I have been saving… peanut butter, almond butter, and vegenaise. The one-pound bags of seed fill the jars to the brim with a little remaining in the bag that won't fit. I'll use that first.

     Sprouting seed jar labels


    After I filled my jars with each seed variety, I lined them up on my windowsill. (Click on the photo to enlarge it so you can see a closeup.) I'd prefer to leave them there just to happily gaze at, however they need to be placed in a more suitable storage location to preserve their viabililty. In the FAQ section on sproutman.com, there is a brief explanation on how to store seeds. "Seeds need to be kept cool and dry. Steady temperature control is better than large swings of seasonal high and low temps. But some seeds lose germination more than others even under the best of conditions. So unless you are preparing for an around the world boat trip, I recommend you only buy enough seeds to last you a few months at a time. Most seeds that you have purchased within the past year are likely to be good. Although you may have heard that some seeds such as alfalfa can last for many years, that is only true under the best of storage conditions. Moisture, air (oxidation), heat, and light are the enemies of seed. When you receive your seeds, remove them from their package and store them in a sealed jar. Make sure there is a rubber gasket to create a perfect seal inside the lid (as canning jar lids and my three kinds of recycled jars have). Keep moisture out at all costs. Store that jar in a dark, cool place. Refrigerator? Yes, if you have space, but beware of moisture in the refrigerator. Only some seeds benefit from refrigeration and only in the hottest and most humid climates. So refrigeration is not required. Freezing seeds is okay for some seeds but not for all." I'm going to store my jars in a kitchen cupboard.    


    Mar. 2, 2009

    Today's mileage: 2 mile walk

    Total monthly mileage for March: 4 miles 

    Bible reading? Complete. 

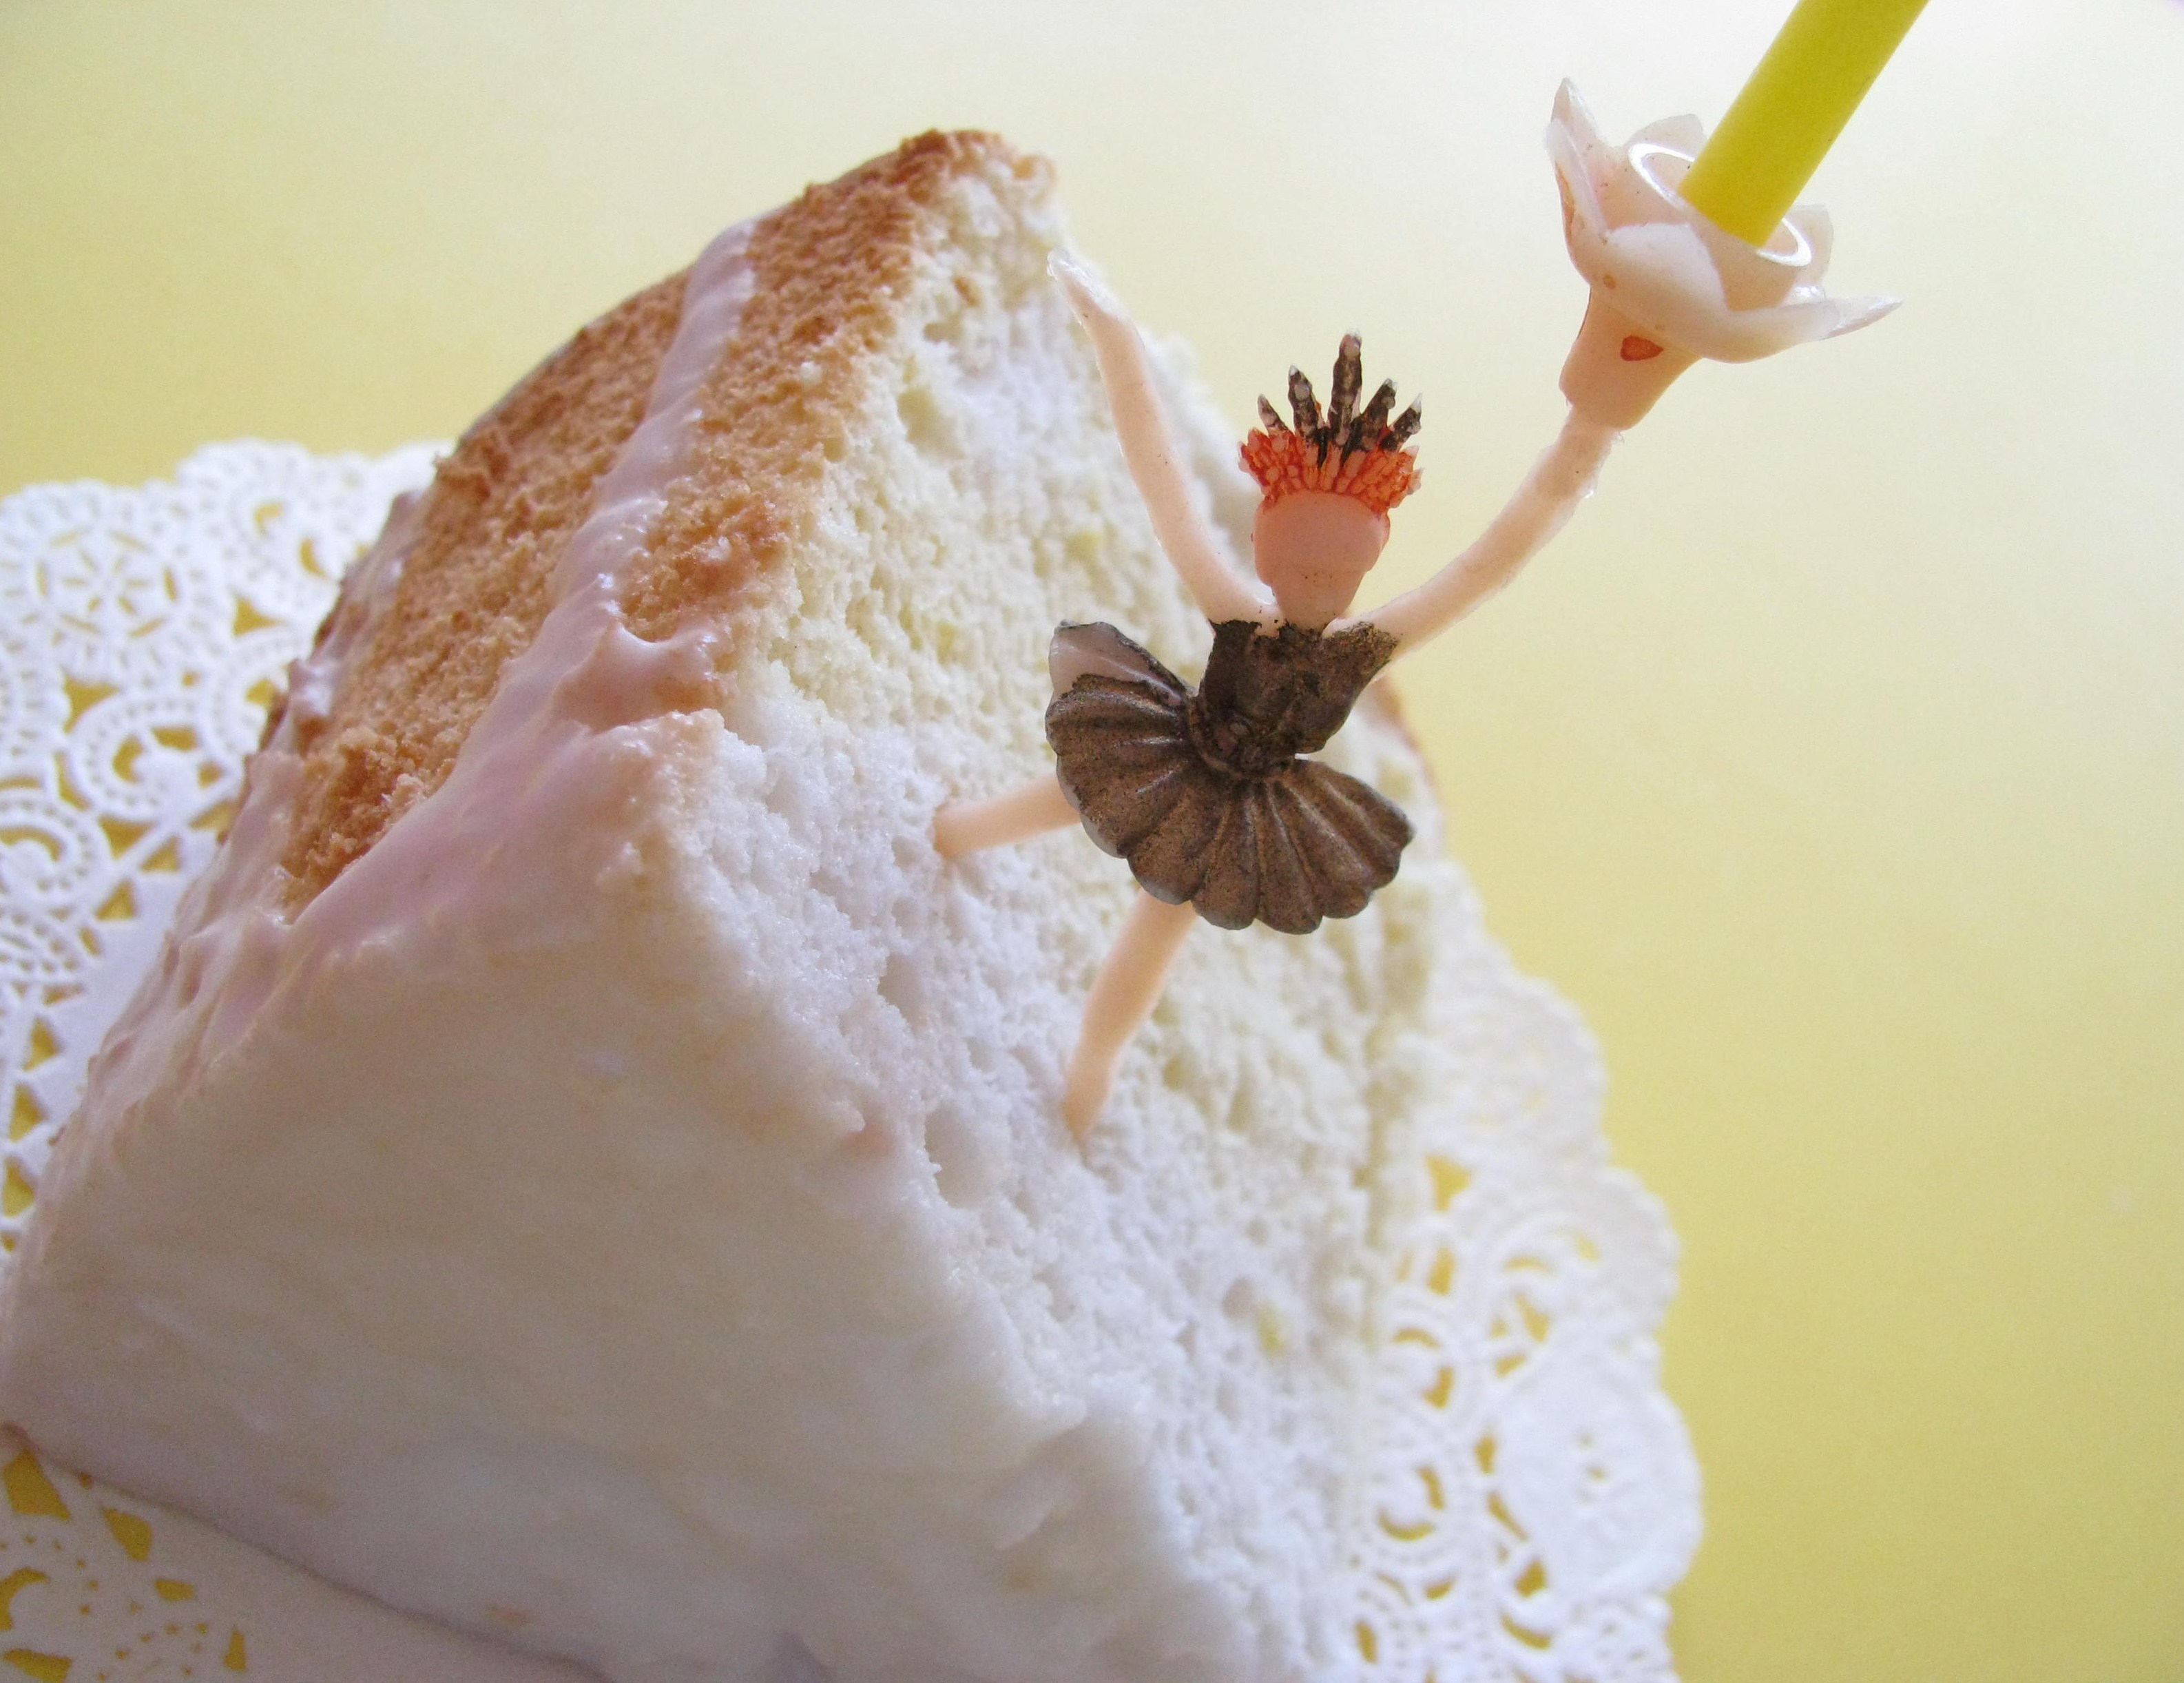
  • Today, this first day of March, I baked this month's themed cake for my Year-Round Monthly Cupcake/Cake Program. I chose to make a daffodil cake in honor of the American Cancer Society's annual Daffodil Days Fundraiser. In January, February, and early March, volunteer coordinators take orders for daffodils in appreciation of a contribution. Delivery to donors coincides with the beginning of spring usually the third week in March. "As one of the first flowers of spring, the daffodil is a symbol of hope. To the American Cancer Society, the daffodil represents the hope we all share for a future where cancer is no longer a life-threatening disease." I inserted the vintage ballerina cupcake pick/b-day candle holder because she looks like a warrior supporting a cause… in this case the fight against cancer… the purpose behind Daffodil Days.  

    I first tried this Daffodil Cake, which is a yellow and white sponge cake, when my hens' prolific egg laying caused an overabundant supply, so this was a way to use a large number of eggs. On a "clean-o-meter" scale, this cake doesn't receive the highest score because of the use of cake flour and the amount of sugar required, but the egg whites and lack of butter/oil redeems it.

    The cake has swirls of white and cheerful yellow… the colors of daffodils, therefore the name. The yellow color comes from egg yolks that are mixed in with some of the batter then swirled into the white batter before baking. The white part of the cake is a light angel food cake batter. This cake requires a few additional steps compared to a standard cake, but it's not difficult at all.

     Daffodil cake

    Daffodil Cake from McCall's Cooking School

    White Batter:

    1 ¾ cups egg whites (12-14)

    1 ¼ cups sifted cake flour (sift before measuring)

    1 ½ cups sugar

    ½ tsp salt

    1 ½ tsp cream of tartar

    1 ½ tsp vanilla

    Yellow Batter:

    5 egg yolks

    2 tbsp cake flour

    2 tbsp sugar

    2 tbsp grated lemon peel

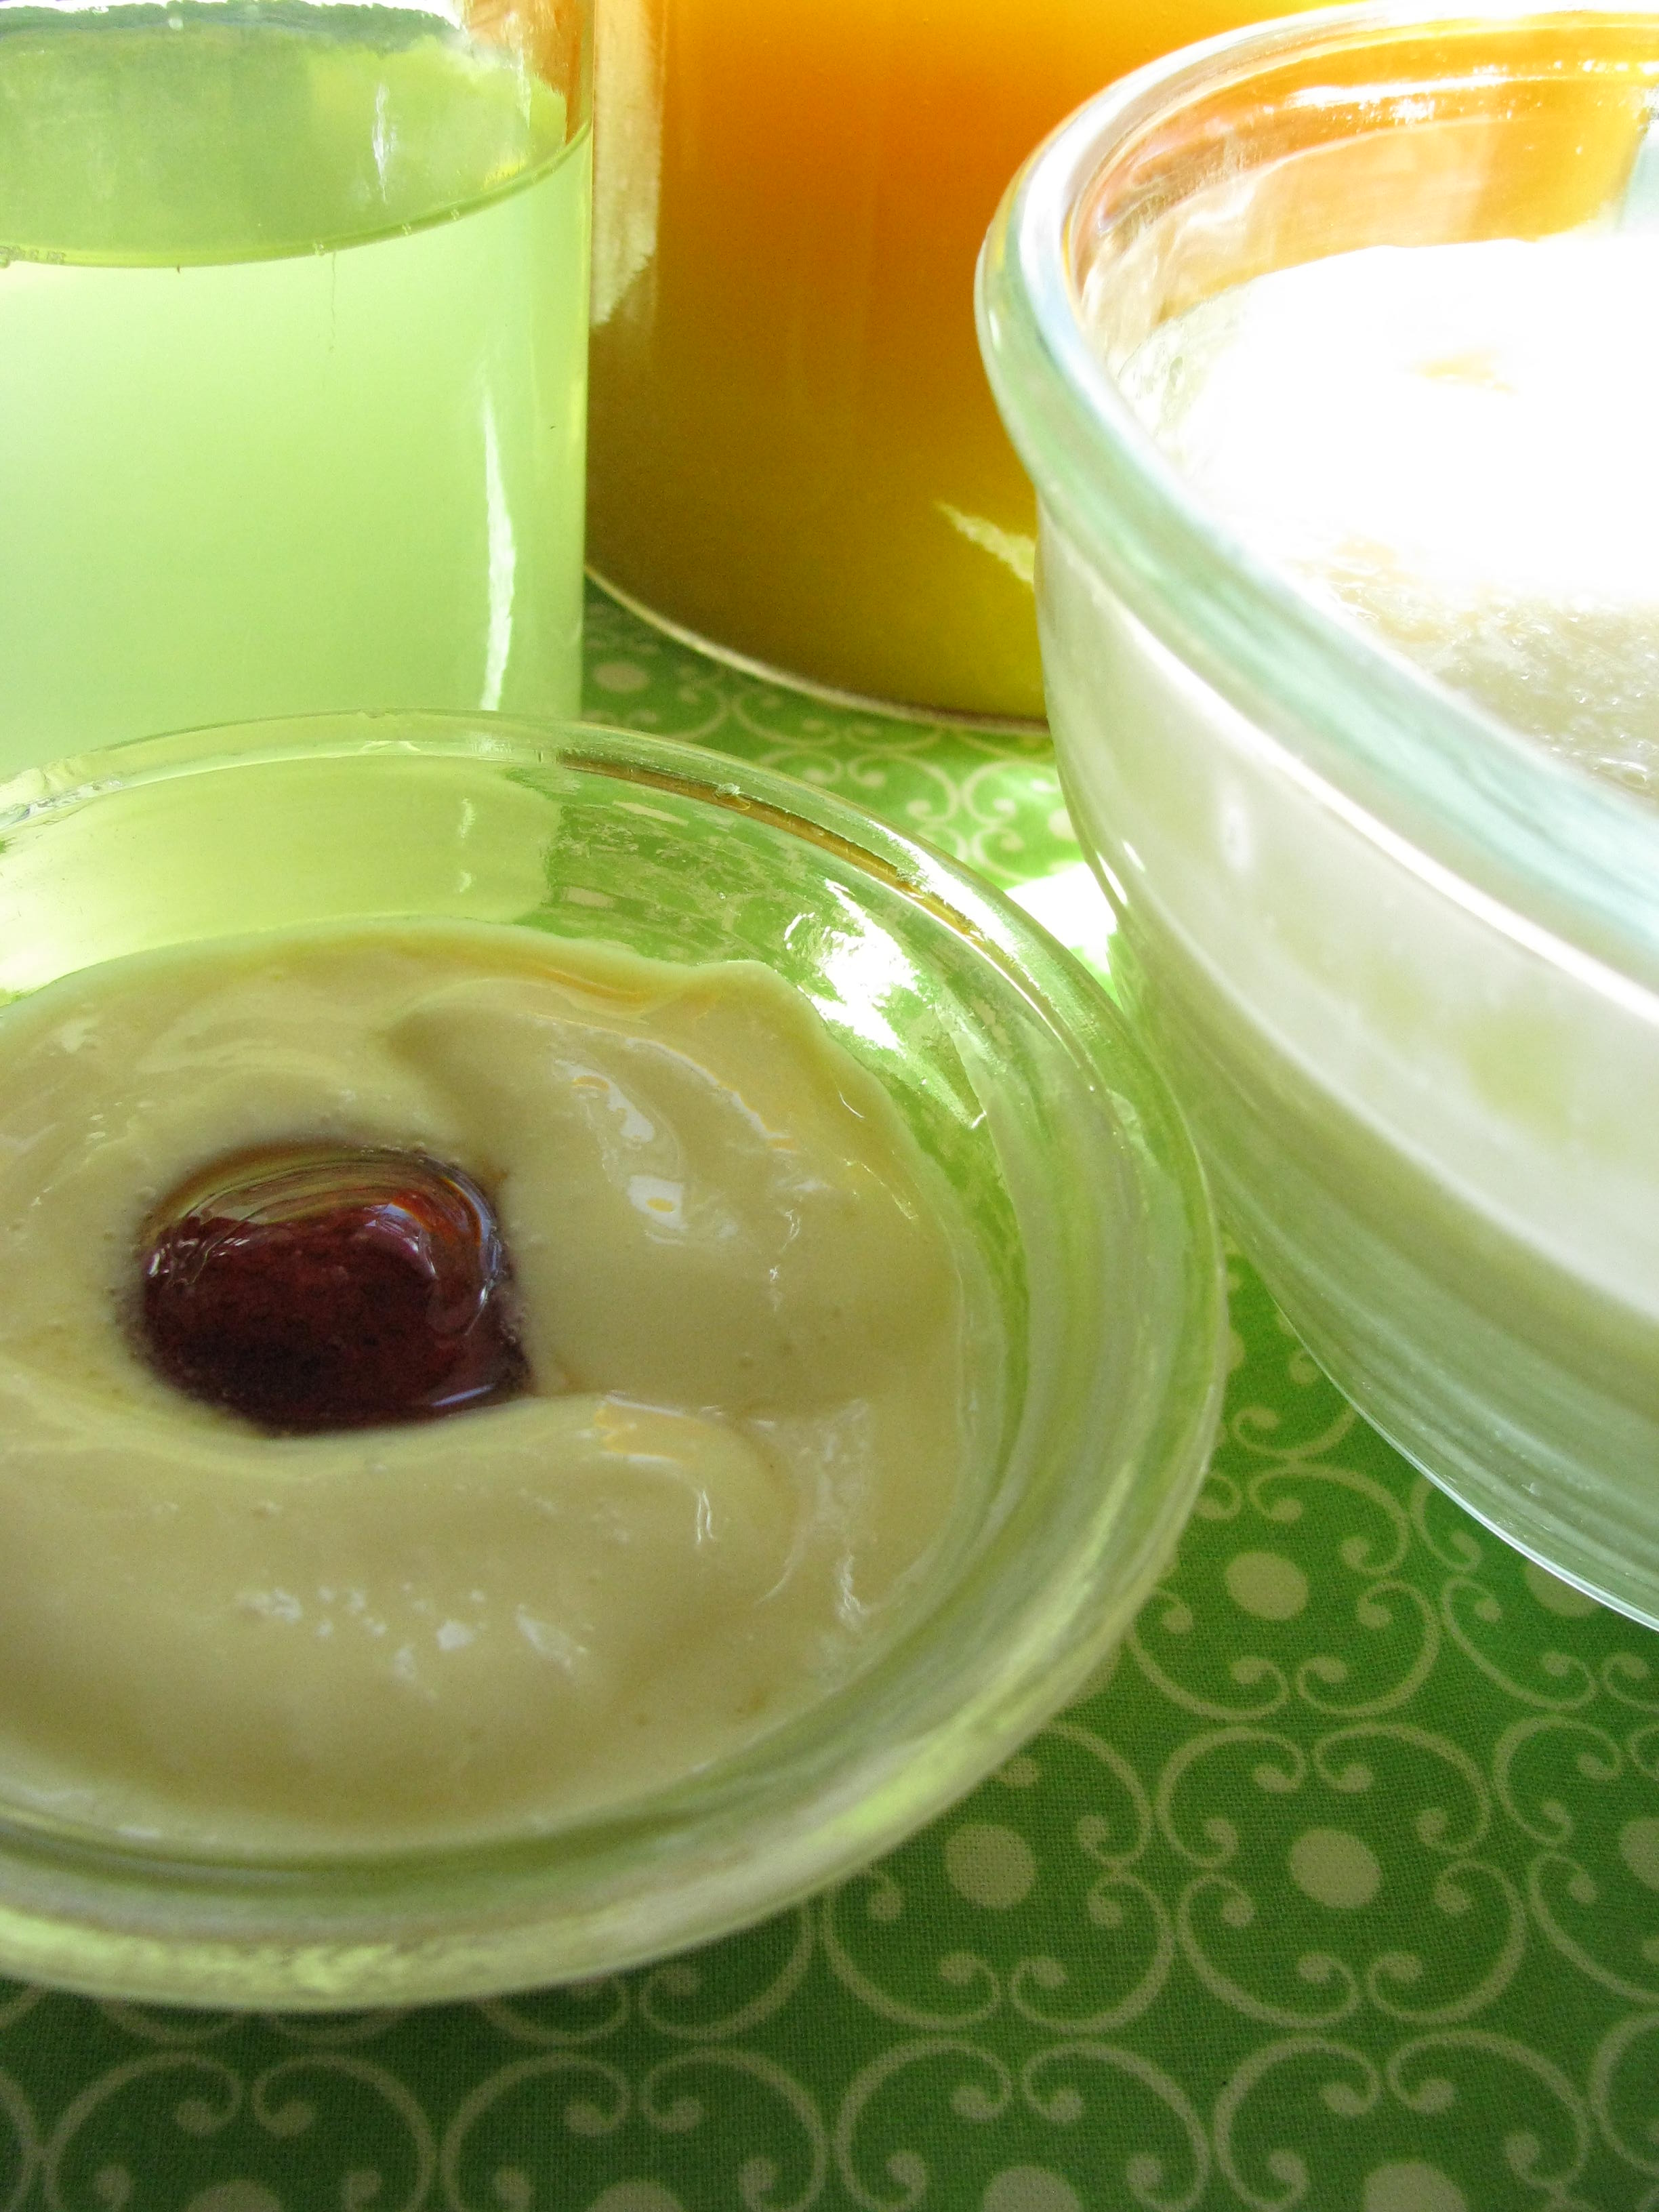
    Make white batter: In large bowl, let whites warm to room temperature 1 hour. Sift 1 ¼ cups cake flour with ½ cup sugar; resift three times. With electric mixer at high speed, beat whites with salt and cream of tartar until soft peaks form when beater is slowly raised. Beat in 1 cup sugar, ¼ cup at a time, beating well after each addition. Beat until stiff peaks form when beater is slowly raised. With wire whisk fold vanilla into egg whites until combined. Sift flour mixture, 1/4 at a time, over egg whites. With wire whisk, using an under-and-over motion, gently fold in each addition with 15 strokes, rotating bowl a quarter turn after each addition. Fold ten more strokes, to blend completely. Turn 1/3 of batter into medium bowl. Preheat oven to 375 degrees. Make yellow batter: In small bowl, combine yolks, cake flour, and sugar. With mixer at high speed, beat until very thick. Add lemon peel. With wire whisk, using an under-and-over motion, fold yolk mixture into reserved 1/3 of batter. For marbling, spoon batters alternately into an ungreased 10 inch tube pan, ending with white batter on top. With knife, cut through batter twice. With rubber spatula, gently spread batter in pan until it is smooth on top and touches side of pan all around. Bake on lower oven rack 35 to 40 minutes or until cake springs back when pressed with fingertip. Invert cake pan to cool for 2 hours. With knife, loosen cake from pan and remove. Sprinkle with powdered sugar or, as I did, drizzle with a lemon glaze. Glaze: Mix 1 cup sifted powdered sugar and juice of ½ lemon. Add a little water to achieve desired consistency. The cake is even more moist the second day. 

    I am reading Finding Betty Crocker by Susan Marks, which I ordered after my research on Betty Crocker box top points referenced Ms. Marks book. For quite a number of years, I have wondered how angel food, sponge, and chiffon cakes are different and the book heightened my need to find out. According to my Betty Crocker Cookbook copyright 1969, "all three depend on a foaming meringue for their lightness, but they differ in other ways. Angel food cake has no leavening, no butter or oil, and no yolks. Sponge cakes use both the whites and yolks of eggs. Sometimes leavening is callled for, but butter or oil is never used. (Sponge cakes may also be used for rolled cakes, such as the jelly roll.) Chiffon cakes combine the qualities of the two. While their lightness depends upon the egg white meringue, they also use egg yolks, leavening, and oil.      

    Mar. 1, 2009

    Today's mileage: 2 mile walk

    Total monthly mileage for March: 2 miles 

    Bible reading? Ya betcha. 


  •   Cardboard range1

    Cardboard range top

    This range is made from a cardboard storage box. Condiment cups and lids are spray-painted silver for knobs that realistically turn. An oven window made from a plastic sheet protector allows different pictures of baking food to be interchanged freely. The oven door opens with two racks inside made from sheets of cardboard spray-painted silver then drawn with grids. The oven's handle is made from a report cover sliding bar sprayed silver. There is even a light attached inside the oven that is activated with movement of the box's side flap. (I created my own burners with clipart that I enlarged.)  

    This clever creation is the brainchild of Cheryl Robinson, owner of  The Crafty Buffet, who appeared February 18, 2009 on the Martha Stewart Show. I was in awe as I watched her cardboard range come to life on my television screen! I immediately ordered a kit to create my own, which I received in record time. This range would provide hours of creative play for a child or, as Cheryl suggested on the show, it can be used to store books (cookbooks maybe?) or other items.  Included in the kit is: 

    ü  a cardboard storage box

    ü   a flat cardboard piece that is used for the back of the range to attach the dials to and two other ones for the oven racks

    ü   5 plastic condiment cups with lids

    ü   5 paper fasteners to attach the condiment lids to the range's back panel

    ü  4 CDs to simulate burners by drawing a spiral shape with a black Magic Marker on the backside (I chose instead to run off a clipart enlargement onto cardstock but the use of CDs is oh, so cute too)

    ü   4 styrofoam dots to keep the oven door snug after repeated openings and closures

    ü   1 clear plastic sheet protector for oven's window

    ü   1 report card sliding bar for oven door's handle

    ü   a template for cutting an opening in oven door

    ü   a dial placement template

    ü   1 Quik Brite™ Light

    ü   5 labels for oven and burner dials (I used the ones provided on Martha Stewart's site because I like the yellow color… they need to be enlarged 139% to cover the condiment lids perfectly)

    ü   step-by-step instruction book, and instructional DVD

    In addition to what Cheryl provides in the kit, you'll need a can of silver spray paint, a paint color for the range to either spray or roll on (I chose a retro blue commonly used for kitchen appliances in the 1950s), and a hole punch among other little supplies that you probably already have on hand like a pen, pencil, glue, ruler, etc. (I purchased a "screw punch" from Martha Stewart Crafts at Michael's that Cheryl recommended. It was a wise purchase as it can be used to punch a hole where standard paper punches can't reach.)

    Cheryl also sells a coloring book with drawings of food to be used in the plastic sheet protector oven window. My copy is on its way, so in the meantime I ran off sheet of clipart featuring a baking sheet of chocolate chip cookies.

    Not only is the instruction book detailed and so very easy to follow, but look how unbelievably cute the design is…  

    Cardboard oven instruction book 

    My transaction with Cheryl, via a phone conversation, as well as email communication, was handled professionally and in an expedient manner. She is a businesswoman with a very personable friendly demeanor. I highly recommend her product and service. 

    Feb. 28, 2009

    Today's mileage: Where did today go? Oh, I was having fun creating my range.

      GRAND TOTAL monthly mileage for February: 64.5 miles 

     Bible reading? Uh huh. 

  • Greeting card rack 

    Last month, I bought this Leanin' Tree card rack at a mostly antique sale with a little flea market thrown in. The rack looks old, and it could be, since the Leanin' Tree Company has been "an American tradition since 1949", according to their web site. Cards and envelopes come in so many bright and cheerful colors that they are too pretty to tuck away in a box or drawer. Displayed in this fashion on a twirling rack, their highly visible presence also serves as a reminder to do my part to keep the art of old-fashioned letter writing alive. Email is wonderful and I use it everyday, but there is nothing like retrieving a hand-written letter out of my mailbox that sits at the end of my 1/2 mile long dirt driveway.   

    M.S. env ext

    This is one of my favorite envelopes displayed on my rack. It is from a Martha Stewart Crafts "tiny party in a box" kit. The inside of the envelope is even cuter than the outside, if that's possible.

      M.S. env int

    The tiny envelope tucked inside is meant to hold the party's invitation. How fun for a grandaughter/son to receive it in the mail just because… no party required! The items enclosed in the adorable kit will be showing up here and there as I repurpose them.

    Feb. 27, 2009

    Today's mileage: just normal here-to-there movement

    Total monthly mileage: 64.5 miles (same as yesterday) 

    Bible reading? Yep. 

  • O.K., so I've got my microgreens and sprouts seed orders completed. Next, I'm movin' on to purchasing a yogurt maker so that I can make not only dairy yogurt but nut and seed yogurts, as well. The dairy section at the local market has good quality organic yogurts from grass-fed cows… Why bother? Freshness. Nutrition at its peak. Why this urgency to delve into these realms? I have been growing and using sprouts sporatically since the early 1970s and I've thought about purchasing a yogurt maker equally as long. I am now ready to seriously incorporate these foods into my diet in as many ways as possible. When George Burns was 100 years old, he stated, "At my age, I don't even buy green bananas." I'm not so old that I shun green bananas but, in this autumn season of my life, I am no longer putting off for tomorrow. Any suggestions of yogurt maker brands and/or features that you have and love? I am familiar with the Yogourmet brand, since it is frequently sold in health food stores and food co-ops. I know that yogurt can be made using a low oven temperature, but maintaining a safe narrow temperature window, to prevent harmful bacteria from propagating making the yogurt unsuitable for eating, causes me to be somewhat apprehensive to choose the oven method.  

    In the meantime, I will buy plain yogurt and flavor it. I made a Peach and Raspberry Swirls Yogurt Recipe from Ina Garten, the "Barefoot Contessa" on the food network. Barefoot Contessa… that name I like. Ah, but it is taken. I will be content as "Queen of the Meadow Blooms". In this recipe, you drain the liquid from the yogurt before adding nectar back in to achieve a wonderful fruity flavor. Notice in my photo how much liquid, in the jar on the left, is drained off from two cups yogurt. Ideally, fresh raspberries and peaches would be added, but I am making this recipe 5 months prematurely. February is not exactly the season for fresh berries and fruit such as peaches. My spirit has transitioned to spring, however, so I have gravitated to spring and summertime recipes. Just getting prepared… I drizzled the single frozen raspberry in the center of my dish of yogurt with a tiny bit of honey just to make it look more appetizing so you wouldn't need to imagine so hard how unbelievably beautiful fresh raspberries and peaches would look and taste.  

    Yogurt mango flavored 

    Peach and Raspberry Swirls Yogurt 

    from Barefoot Contessa Ina Garten Serves 4.

    2 cups plain yogurt

    2 tbsp honey (I'm going to try eliminating this.)

    ¾ tsp vanilla

    1 tsp grated orange zest, optional

    ¼-1/2 cup peach nectar

     peach, peeled and diced

    fresh raspberries

    sliced almonds, toasted, for garnish

    Line a sieve with cheesecloth or paper towels and suspend it over a bowl. (I used an unlined sieve.) Pour the yogurt into the sieve and allow it to drain, refrigerated, for 3 hours or overnight. (A whopping 2/3 cup liquid drained off.) Place the thickened yogurt into a bowl and add the honey, vanilla, and orange zest. Thin with peach nectar until it is a desirable consistency. (My first attempt, I used ¼ cup nectar and it was a little too thick. My 2nd attempt, I used ½ cup and felt it was a little thin so I’d say 1/3 cup should be just right.) One time I used a whisk to mix the ingredients together and the next time I used a blender which resulted in a smoother texture. Ina didn’t say to put the yogurt in the fridge overnight at this step, but I would suggest it if you have time. It allows it to thicken up a bit, but it’s not absolutely necessary. Fold in peaches and raspberries with a few on top, along with the almonds, for garnish.


    Feb. 26, 2009

    Today's mileage: 2 mile walk

    Total monthly mileage: 64.5 miles

    Bible reading? Yesiree.