Whiteley Creek Homestead

LIFE AT THE END OF A DIRT ROAD IN CENTRAL MINNESOTA

organically grown triticale in our field
canoeing in our wetlands
raspberries growing wild on our property
our back porch fieldstone fireplace
  • A perfect soup day today… I chose Hamburger Veggie Soup because I had errands to run and it's an easy throw-together meal to prepare first thing in the morning to heat later. Also, I always stock the ingredients in my pantry. I made frozen banana sundaes for dessert which take minutes to prepare. Something hot… something cold. A good combo.

    Hamburger veggie soup  

    Hamburger Veggie Soup Makes 4 hearty servings

    1 tsp oil

    1 large onion

    1 lb lean ground beef preferably pastured grass-fed or ideally pastured grass-finished 

    1 tsp basil, 1/2 tsp leaf oregano, and 1/2 tsp leaf marjoram 

    ½ tsp black pepper

    1 tsp Johnny's Seasoning Salt* or your own favorite all-purpose seasoning

    2 garlic cloves, minced

    2 tsp Worcestershire sauce (I use Bragg’s Liquid Aminos.)

    4 c beef stock or broth

    1 bay leaf

    1-14.5 oz can diced or stewed tomatoes (I sometimes sub 3/4 cup mild salsa.)

    2 c mixed frozen veggies like peas, carrots, and corn combo (or use any veggie from your garden or fridge like zucchini, yellow squash, sweet potato…)

    1/3 c quick-cooking 10 min. barley, brown rice, or quinoa (If using reg. barley or brown rice, just allow cooking extra time.)

    In soup pot, saute onion in oil until the onion softens slightly and begins to turn translucent. Add beef and cook until almost brown. Add basil, pepper, garlic, and Worcestershire sauce (or Bragg’s). Add beef stock (or broth), bay leaf, and tomatoes with their juice. Cover the pot and bring the soup to a boil. Stir in the barley and reduce heat to simmer. Simmer for 5 minutes then add the frozen veggies. Simmer for another 5 minutes or so until the barley is tender and the veggies are warmed and still firm like fresh-picked from garden, not mushy. *Johnny’s Seasoning Salt adds wonderful flavor to all of your dishes. I order the "No MSG" (monosodiumglutamate) variety.


    Frozen banana sundae  

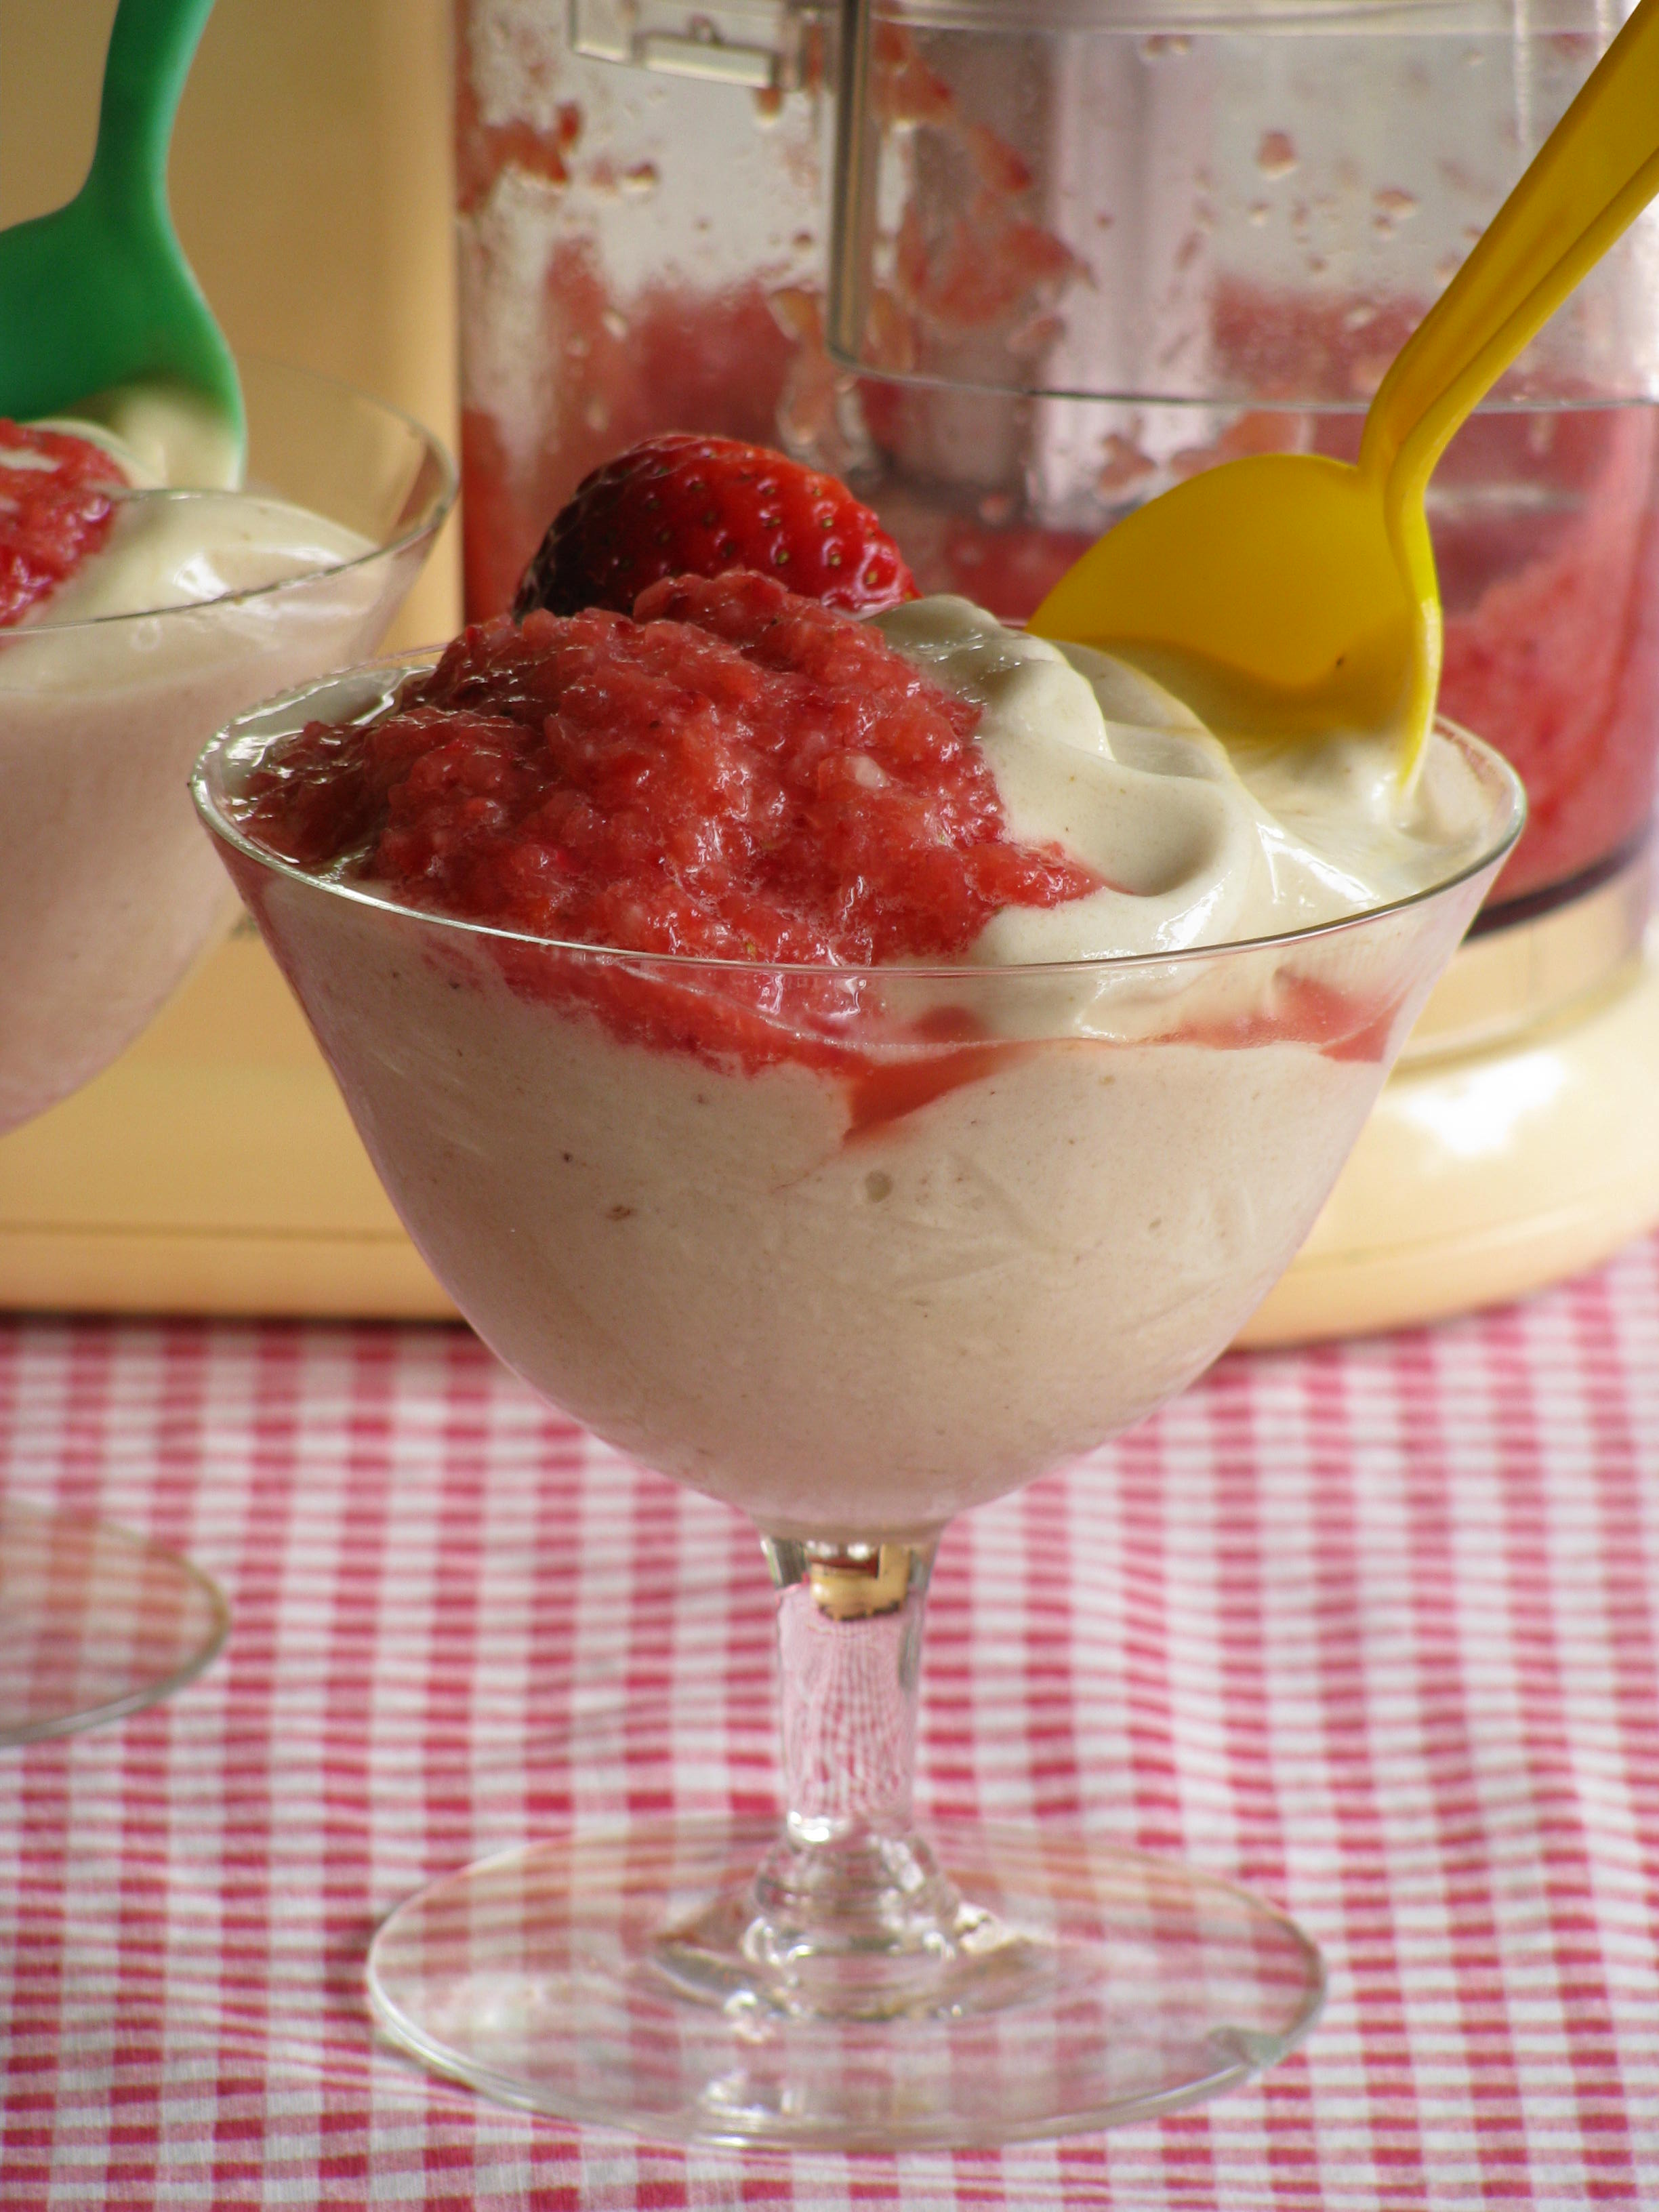
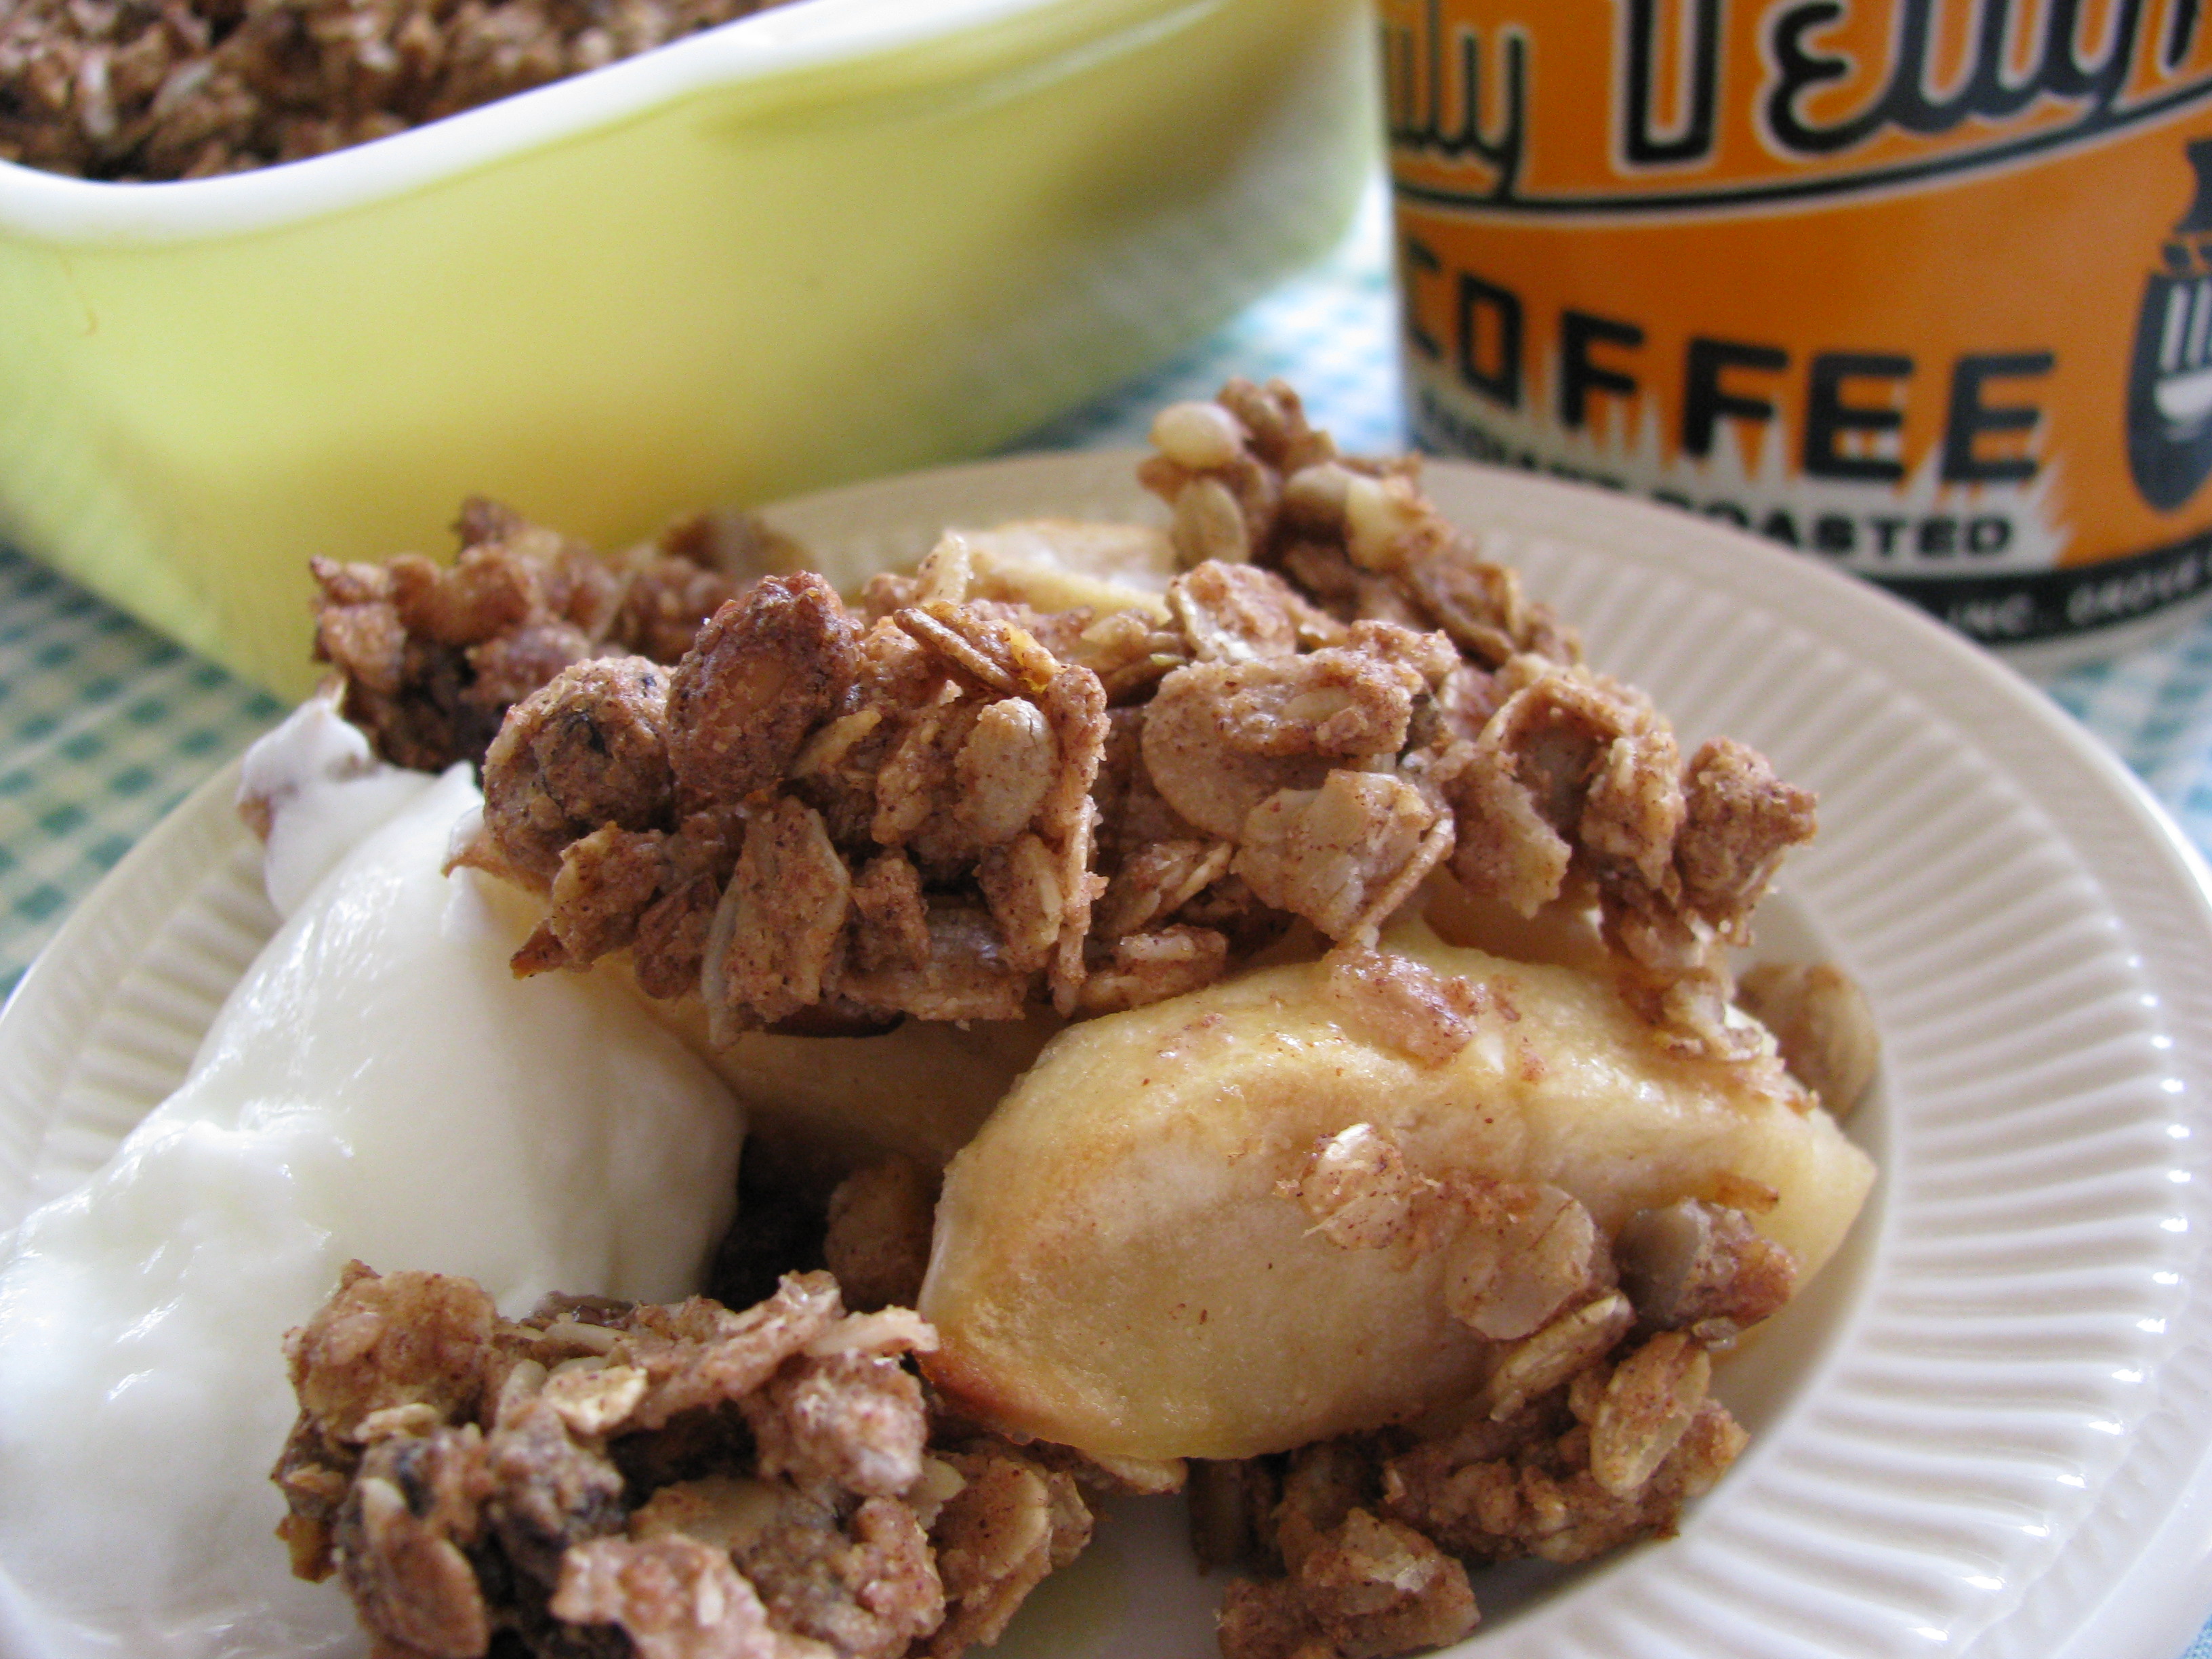
    To make the "raw food" sundaes, I push frozen bananas through my Champion Juicer with the blank insert in place instead of the screen that is used to make juice. It tastes just like soft serve ice cream, but you must eat it before it begins to melt or it tastes like mushed bananas. I topped it with strawberries and pineapple that I whizzed in my food processor. Note: If you don't have a Champion Juicer, or you desire less cleanup, here's a banana mikshake recipe made with a blender or food processor. So very simple.

    Champion Juicer  

  • I wanted to express my appreciation to my friend Debbie's son for paving the way towards a potential caboose acquisition to complement the 1890s railroad passenger car where I serve breakfast, so I baked some chocolate cookies and boxed them up with some homemade marshmallows. To complete the gift and write a message to the recipient, I chose a card with a recipe for "The Perfect Hot Chocolate" on the card's front.  My daughter, Jessie, has made this cookie recipe six times since I shared it with her two months ago. She likes it because it's quick and it uses standard ingredients in your pantry, so the cookies are ready in a snap when the chocolate craving hits. 

     Triple chocolate cookies

    Triple Chocolate Cookies from the Food Network Channel's "Healthy Appetite with Ellie Krieger"

    ¼ c butter, softened (Option: 2 tbsp butter + 2 tbsp unsweetened applesauce)

     ½ c ¼ c dark brown sugar

    ¼ c white sugar (I use coconut sugar.) 

     ¼ c 2 tbsp oil (I use coconut oil.)

    1 egg

    1 tsp vanilla

    ½ c unbleached white flour (Sub a hearty whole grain flour, or combo of flours.) 

    ½ c whole wheat pastry flour

    ¼ c cocoa (I use cacao powder.)

    ¼ tsp salt, optional

    1/3 c semisweet chocolate chips (I use 1/4 c Ghirardelli brand or Enjoy Life 69% cacao dark chocolate morsels.)

    1/3 c milk chocolate (I use 1/4 c Ghirardelli brand or Enjoy Life 69% cacao dark chocolate morsels..)

    2/3 c ½ c chopped pecans or walnuts

    Preheat oven to 350 degrees. Cream butter, applesauce, and sugars. Add oil, egg, and vanilla. Beat until creamy. In a medium bowl, whisk together flours, cocoa, and salt. Add the dry ingredients to the wet ingredients and mix well. Stir in the chocolate and pecans. Using a tablespoon, scoop the batter onto an unbleached parchment paper-lined cookie sheet. Bake for 12 minutes. Transfer cookies to a cooling rack. Makes 16 cookies.


  • Who needs a flu shot when you have an "immune booster flu buster smoothie"? The combo of orange juice, papaya, and strawberries gives this smoothie a triple dose of vitamin C. I made it this morning for Dick's and my breakfast along with a toasted Ezekiel flourless sprouted grain cinnamon raisin English muffin spread with almond butter. I got the recipe from a book called Super Smoothies 50 Recipes for Health and Energy by Mary Corpening Barber and Sara Corpening Whiteford that I purchased for pennies at a yard sale. The book looked like it hadn't even been opened… big mistake! The recipes are so tasty with bold colored photographs of each recipe.

    Flu buster smoothie  

    Flu Buster Smoothie

    1 c. orange juice (I freshly squeezed mine.)

    1 c. fresh strawberries (I used frozen.)

    ¾ c. diced papaya (I used canned but fresh is best.)

    1 frozen banana, cut into small chunks

    Combine all ingredients in blender. Let the fruit hang out a while to slightly thaw so it’s easier on your blender. You don’t want to let them thaw too much, though, because the fruit’s frozen state is what makes the smoothie thick. Blend until smooth. Makes about 2 ½ cups. Serves 2. To freeze bananas remove the peel, lay on a wax paper or parchment-lined baking sheet, then put in freezer. When frozen solid, transfer to a freezer bag. Keep your freezer stocked, as bananas are a common staple in smoothies.   

  • Mixer cover1 
    Yesterday morning as I was opening my pantry to get some steel cut oats, dates, pecans, and rice milk to cook a bowl of cereal for Dick and I, my eyes were drawn to my baking center where the KitchenAid Mixer stands. I decided the mixer needed a cover worthy of its important role in my life. It works virtually every day for me. During breakfast I envisioned an embroidered cupcake outline on a linen kitchen towel, but a cupcake needs to look like a party… a celebration… with vibrant happy colors. My plan took a detour and I set to work on an applique instead to give it a "Look at me!" attitude. I cut off the towel's prexisting border because it was outdated and replaced it with the zigzag border instead. It looks like I spent painstaking hours sewing on rows of rickrack but it's a scrap of fabric I had spied in the bargain remants bin at Joann Fabrics a few weeks back. It was folded up neatly in a corner of my sewing room waiting for its day in the spotlight. If you haven't appliqued before, or it's been a long time and your remembrance of the technique has grown fuzzy, here's a tutorial that breaks the process down into easily understandable steps.   

  • Marshmallow snowman  

    This snowman is made from homemade marshmallows. The recipe I used makes enough marshmallows to float in hot chocolate, to make a pan of Rice Krispie Bars, and even this snowman with a hat made from a thin mint pattie topped off with a junior mint, a fruit leather scarf, a wedge cut from a candy orange slice for a nose, and thin pretzels for arms. For the body I used three graduated circle cookie cutters. The largest size I found in my cookie cutter collection and the two smaller sizes are Wilton cutters that I purchased at Michael's Crafts. I used the middle size of the three cutters in the package for an authentic marshmallow shape, but any shape can be used.

  • Have you seen "The Bucket List" starring Jack Nicholson and Morgan Freeman? I haven't, but I do know that it is centered around the goals that they want to accomplish before they "kick the bucket". I have such a list… an extremely long one. I checked off one goal today… making homemade marshmallows. It sounds kinda nuts, but there has always been a huge question mark looming over my head regarding how marshmallows are made. Now I know firsthand. With the exception of drying time, it takes no longer than running to the store to purchase the already bagged variety. I chose today to make them because it was a blustery sort of day that was pleading for a cup of hot chocolate.

    When searching for a homemade marshmallow recipe, I first came across one that used egg whites… uncooked. I wasn't willing to risk Salmonella, so I continued my search. I ended up with one from Martha Stewart, which proved to be an excellent choice. The vanilla flavor intensifies after 24 hours. Yum… so much more tasty than the store-bought variety that have  modified cornstarch, tetrasodium pyrophosphate (whipping aid), artificial flavor, and artificial color (blue #1). In my next post, I will share a photo so that you can see that the cutest fluffy snowman that I made from them!

     Homemade marshmallows in mixing bowl 

    Dusted marshmallows drying

    Homemade Marshmallows from Martha Stewart

    2 ½ tbsp Knox unflavored gelatin (3 envelopes)

    1 ½ c sugar

    1 c light corn syrup

    ¼ tsp salt

    2 tbsp pure vanilla (Yes, that’s tablespoons, not teaspoons.)

    powdered sugar for dusting

    Combine gelatin and ½ c cold water in the bowl of an electric mixer with whisk attachment. Let it stand 30 minutes. Meanwhile combine sugar, corn syrup, salt, and ½ c water in a small heavy saucepan; place over low heat and stir until sugar has dissolved. Clip on candy thermometer; raise heat to medium. Cook syrup without stirring until it reaches 244 degrees (firm ball stage). Immediately remove pan from heat. With mixer on low speed, slowly pour syrup into the softened gelatin. Increase speed to high; beat until mixture is very thick and white and has almost tripled in volume- about 15 minutes. Add vanilla; beat to incorporate. Generously dust a 9×13-inch glass baking pan (or an 8×8-inch pan for thicker marshmallows) with powdered sugar. Pour marshmallow mixture into pan and spread evenly. Dust top with powdered sugar; let stand all day or overnight, uncovered to dry out. I used a small round Wilton cutter that I purchased at Michael’s Crafts for an authentic marshmallow shape, but any small shape can be used.

  • Honey whole wheat oatmeal bread  

    Honey Whole Wheat Oatmeal Bread from http://soulemama.typepad.com

    1 ¼ cups water

    2 tbsp honey

    2 tbsp butter, melted then cooled a little (I use extra virgin first cold pressed olive oil instead.)

    3 cups flour (2 cups *unbleached white and 1 cup whole wheat pastry)

    ½ cup rolled oats (I use **Bob's Red Mill "Old Country Style" Muesli instead.)

    1 tbsp brown sugar

    1 tsp salt

    1 tsp cinnamon (optional)

    2 tbsp ground flax seed + 2 tbsp raw wheat germ (This is my addition to pump up the nutrition.) 

    2 ¼ tsp active dry yeast (1 pkg) See note.

    Follow your bread machine’s instructions, but it’s basically just putting the liquid ingredients into the bread pan, then adding the dry ingredients being sure to place the yeast on the very top of the dry ingredients so it doesn’t touch the liquid. Do not mix. (I do stir or whisk the dry ingredients together in a bowl before adding them to the bread machine just to insure they are incorporated throughout.) The machine takes over from there. It couldn’t be simpler! I find consistent success when I set my machine on the "dough" cycle so the machine is only assisting with the kneading and the first rise, which takes 1 hour 40 minutes in my machine. I then punch the dough down, and place it in a bread pan to do its 2nd rise which takes about 1 hour. Finally, bake in a 350 degree oven for 40-45 minutes.


    Note: I have the best results using “Red Star” Active Dry Compressed Yeast. In the package it looks like a hard block, but when you open the package it is loose just like in individual packet and jar form. I buy it in the commercial/restaurant aisle at my local Super One Foods Grocery Store where the large gallon cans and jars of food are. I had taken a bread making class at Chef & Co. in Brainerd, Minnesota and it's the yeast that the instructor recommended. It comes in a 16 oz. size. When you try this bread you will be making it on a regular basis so, even though it is a large quantity of yeast, you will use it before its expiration date. I store the yeast in a quart jar in the fridge labeled with its expiration date. *For white flour in all of my recipes, I use organic stone-ground Gold N White Flour. That is not the brand name. It is the type of flour. It is a "natural creamy-color unbleached wheat flour that is milled from hard spring wheat. It contains the essential nutrients of whole wheat, including the wheat germ, but has similar baking quality of white flour." It is available at food co-ops in the bulk section. I buy mine in a 25 lb bag through the buying club I belong to. It is milled by Natural Way Mills in Middle River, Minnesota. **One time I had no oatmeal, so I substituted Bob's Red Mill Old Country Style Muesli. What a pleasant surprise! "Old Country Style Muesli" is cereal that consists of whole grain rolled oats, wheat, rye, triticale, and barley, along with dates and raisins, sunflower seeds, almonds, and walnuts. It adds a wonderful chewy and crunchy texture to the bread's already yummy flavor. I now use it instead of oatmeal everytime I make this bread. 

  • Tammy_shadow_box_pattern_direction_

    Taammy_collector_box_pattern_piec_2

    I was going to run to the store and buy some dishtowels to embroider, but the aroma of honey whole wheat oatmeal bread baking in my bread machine… well, I just knew I must delay my errand so that I wouldn’t miss the best part of the entire bread making process. I posted the recipe in my blog’s "recipes" category. It is absolutely the best recipe! Waiting for the aroma to diminish, I needed to switch gears because I didn’t have what I needed to begin my embroidery project. Last week, I ran across an idea on the Jane’s Apron blog. She used a  "collector box", which you can purchase at Michael’s Craft Store for $7.00, to display a cutout from the front of a pattern envelope layered on top of a pattern piece. I bought two of them. I wanted to put my own spin on the idea by choosing a pattern that had some meaning to me, so for the background I cut to size a direction sheet from a Tammy doll pattern that I had purchased on eBay. I had bought two identical patterns off eBay so I didn’t feel badly about cutting up one of them. Tammy was like a Barbie doll and I first learned to sew using a sewing machine in 1962 when I was 9 years old by making clothes for her. I knew that this particular pattern would be perfect for my collector box because the very first thing I made from the pattern was the skirt, so that’s the one I chose to focus on. I secured the skirt directions to the inside of the box then pinned cutouts from the front of the pattern envelope on top. In the second box I layered the original skirt that I made as a child on top of the skirt pattern pieces and information cut from the back of the pattern envelope.

    The collector box comes with 1-1/2" high pins to secure the items onto a slightly padded backing. You will need to insert the pins at an angle in order for the lid to close or do as I did and use some pins that are 1/2" high… perfect! I rummaged through my craft stash and found them. I don’t know what they are meant to be used for. The project went together very quickly and I was ready to hang it. No problem… or so I thought , since there are two ribbons attached to the backside- one if you choose to hang it vertically and the other to hang it horizontally. It felt natural to me to open the lid from the right side to the left, however that’s not how the ribbons were positioned. So I needed to flip everything inside the box upside down. Also, the box doesn’t come with a latch so when you hang the completed art on the wall, the door falls open. Since my theme is sewing, I may attach (hot glue?) two old buttons directly across from each other- one on the top side and one on the bottom side where the lid opens and closes then wrap a short length of brown and white baker’s twine around the two buttons or, instead, I may attach a tiny metal latch.

    There are endless possiblities for these boxes. Have fun making it your own! (Also, check out www.janesapron.etsy.com where there are really fun unique items to purchase for yourself or gift giving.)      

  • Cardboard_house

    Let your imagination run wild… I did! Go crazy with color and patterns or follow a more traditional realistic color scheme. So many visions I did have as this cardboard house and scrapbook paper forest began to transform into a magical land. The cardboard house directions can be found on the Better Homes and Gardens web site. No pattern needed for the trees… just form a cone shape with a piece of tagboard, glue two scrapbook paper strips together (or use paper with a pattern on both sides), then curl the ends by wrapping around a pencil, and overlap in rows.

  • Breakfast doesn't need to be boring with the same 'ol bowl of oatmeal or raisin bran. Why not dessert for a change? This Good Mornin' Apple Crisp has all of the components of a nutritious breakfast but so much more exciting to get you fueled for the day ahead. I added yogurt on the side and poured a cup of Ginger Peach Longevity Tea that was a gift, along with a teakettle, from my daughter Lisa. You will need to get beyond the taste bud perception of the standard brown sugar/butter-laden crisp as this recipe has neither of those ingredients. Once you've resolved that issue, you will find this apple crisp to be very tasty. Here's the recipe from www.wholefoodsmarket.com.

    Good mornin' apple crisp   

    Good Mornin’ Apple Crisp Serves 6-8

    3 large apples, peeled and sliced

    1 tbsp evaporated cane juice*

    1 c Muesli cereal

    1/3 c whole wheat pastry flour (I omitted this because it produces a flour paste taste.)

    ¼ c walnuts chopped

    1 tbsp ground flax seed

    1 tsp cinnamon

    3 tbsp canola oil

    2 tbsp maple syrup

    Preheat oven to 375°F. Lay the apples in lightly oiled 9×9 baking dish. Sprinkle with cane sugar. Combine remaining ingredients and press over apple mixture. Bake for 40 minutes or until topping is golden brown and apples are tender. Nutrition Info:

    Per serving (6.5 oz-wt.): 280 calories (90 from fat), 10g total fat, 1g saturated fat, 7g dietary fiber, 3g protein, 46g carbohydrate, 0mg cholesterol, 85mg sodium


    I used Bob's Red Mill "Old Country Style" muesli cereal in the topping. It's a quick way to get a lot of goodness because its a combo of rolled oats, wheat, rye, triticale and barley along with dates and raisins, sunflower seeds, almonds and walnuts. (Triticale is a combination of wheat and rye. It has a much higher protein content and better balance of essential amino acids than either wheat or rye.) The original recipe called for ¼ c raisins or dried cranberries. I discovered that they got too dry and hard from baking in the oven, so I chose to sprinkle some on top just before serving. That way it’s easier to accommodate those who dislike raisins, too. *Evaporated cane juice is a healthy alternative to refined sugar. While both sweetners are made from sugar cane, evaporated cane juice does not undergo the same degree of processing that refined sugar does. Therefore, unlike refined sugar, it retains more of the nutrients found in sugar cane.


    Tea kettle


    Every morning, I eagerly await the oboe sound of the whistle from my tea kettle that was a gift from my daughter, Lisa.